



Pokémon Pokopia Bubbly Basin treasure map locations

Pokémon Pokopia treasure maps are found by digging up glowing spots that appear daily across the Bubbly Basin region. These spots can also contain relics, fossils and mysterious slates.
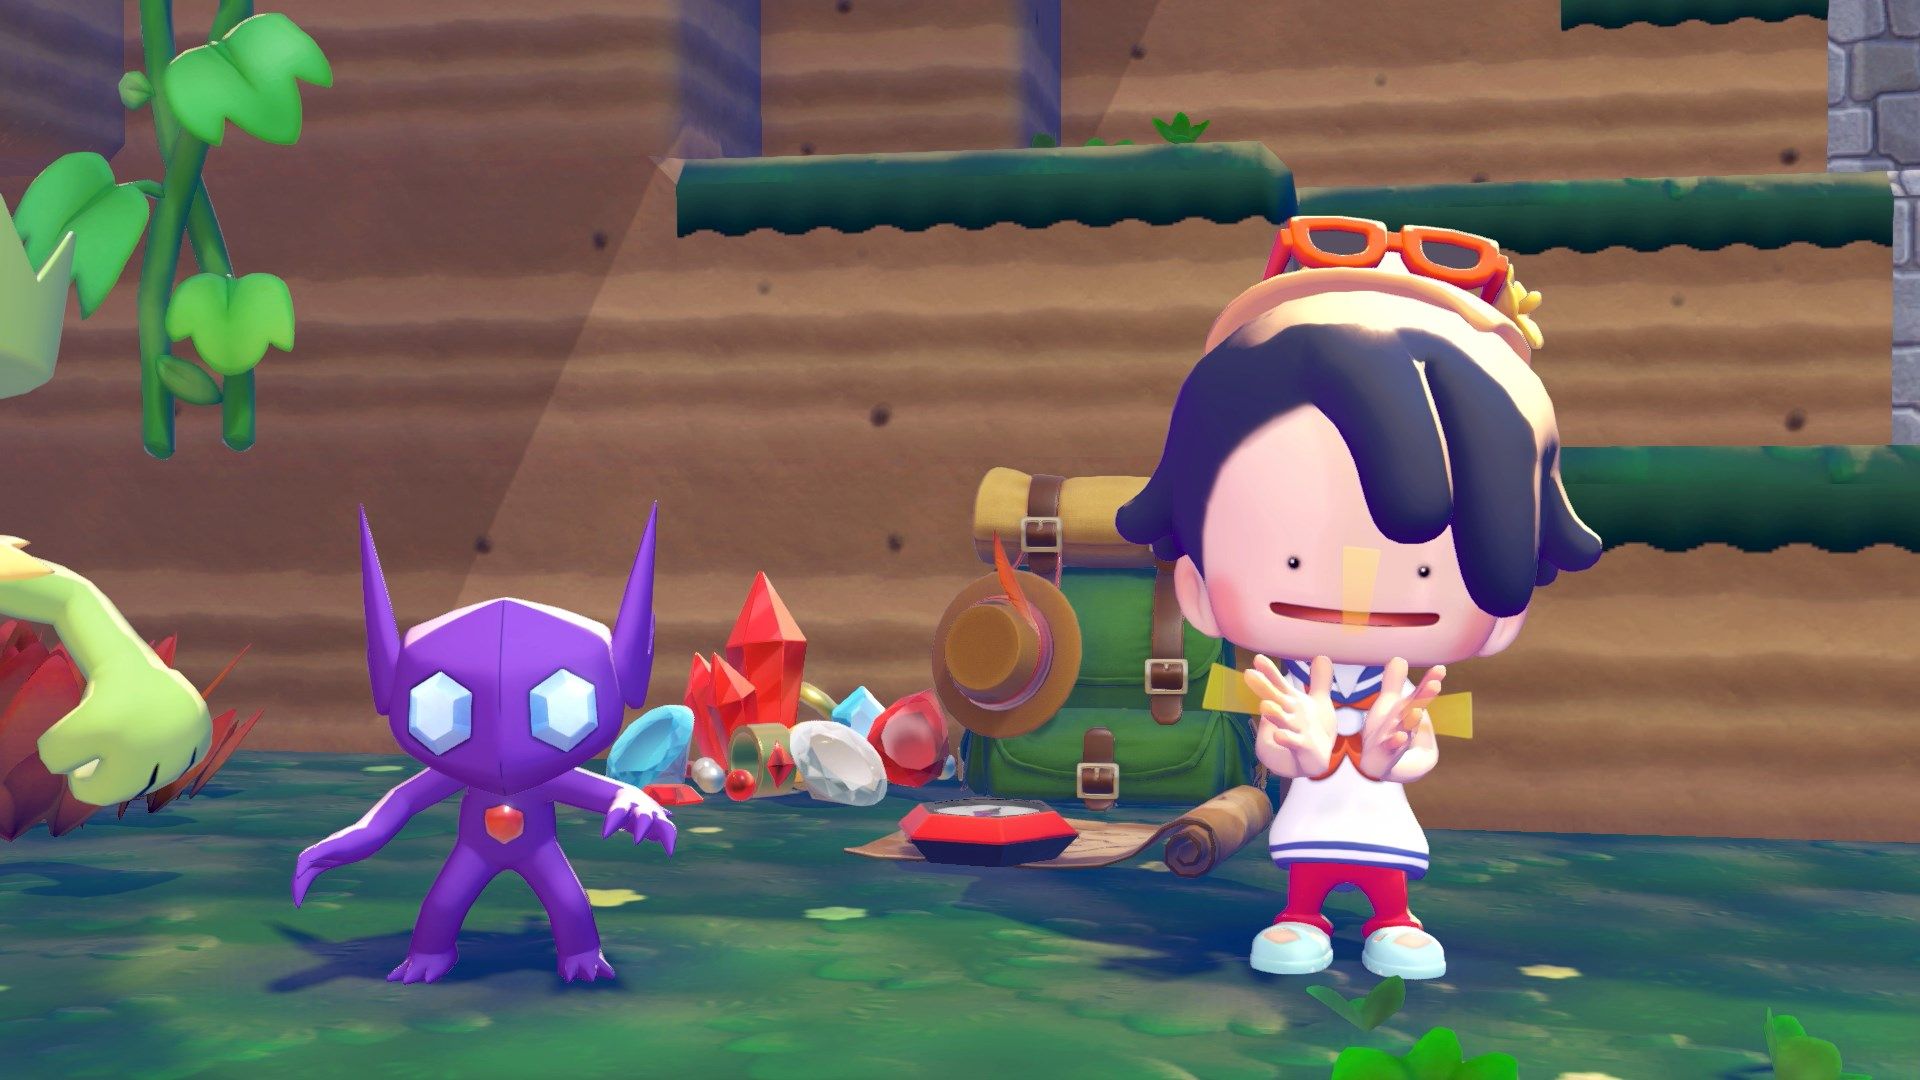
The Bubbly Basin DLC contains six treasure maps. Each map leads to a hidden item once owned by humans who disappeared. However, the map itself is not required: you can visit every treasure location directly.
Collecting all six decorative Poké Balls also lets you build the mermaid’s gym habitat, a special home for Starmie. For more gaming coverage, visit the RETROCADE Arcade Blog.
Treasure Map 1: Decorative Great Ball
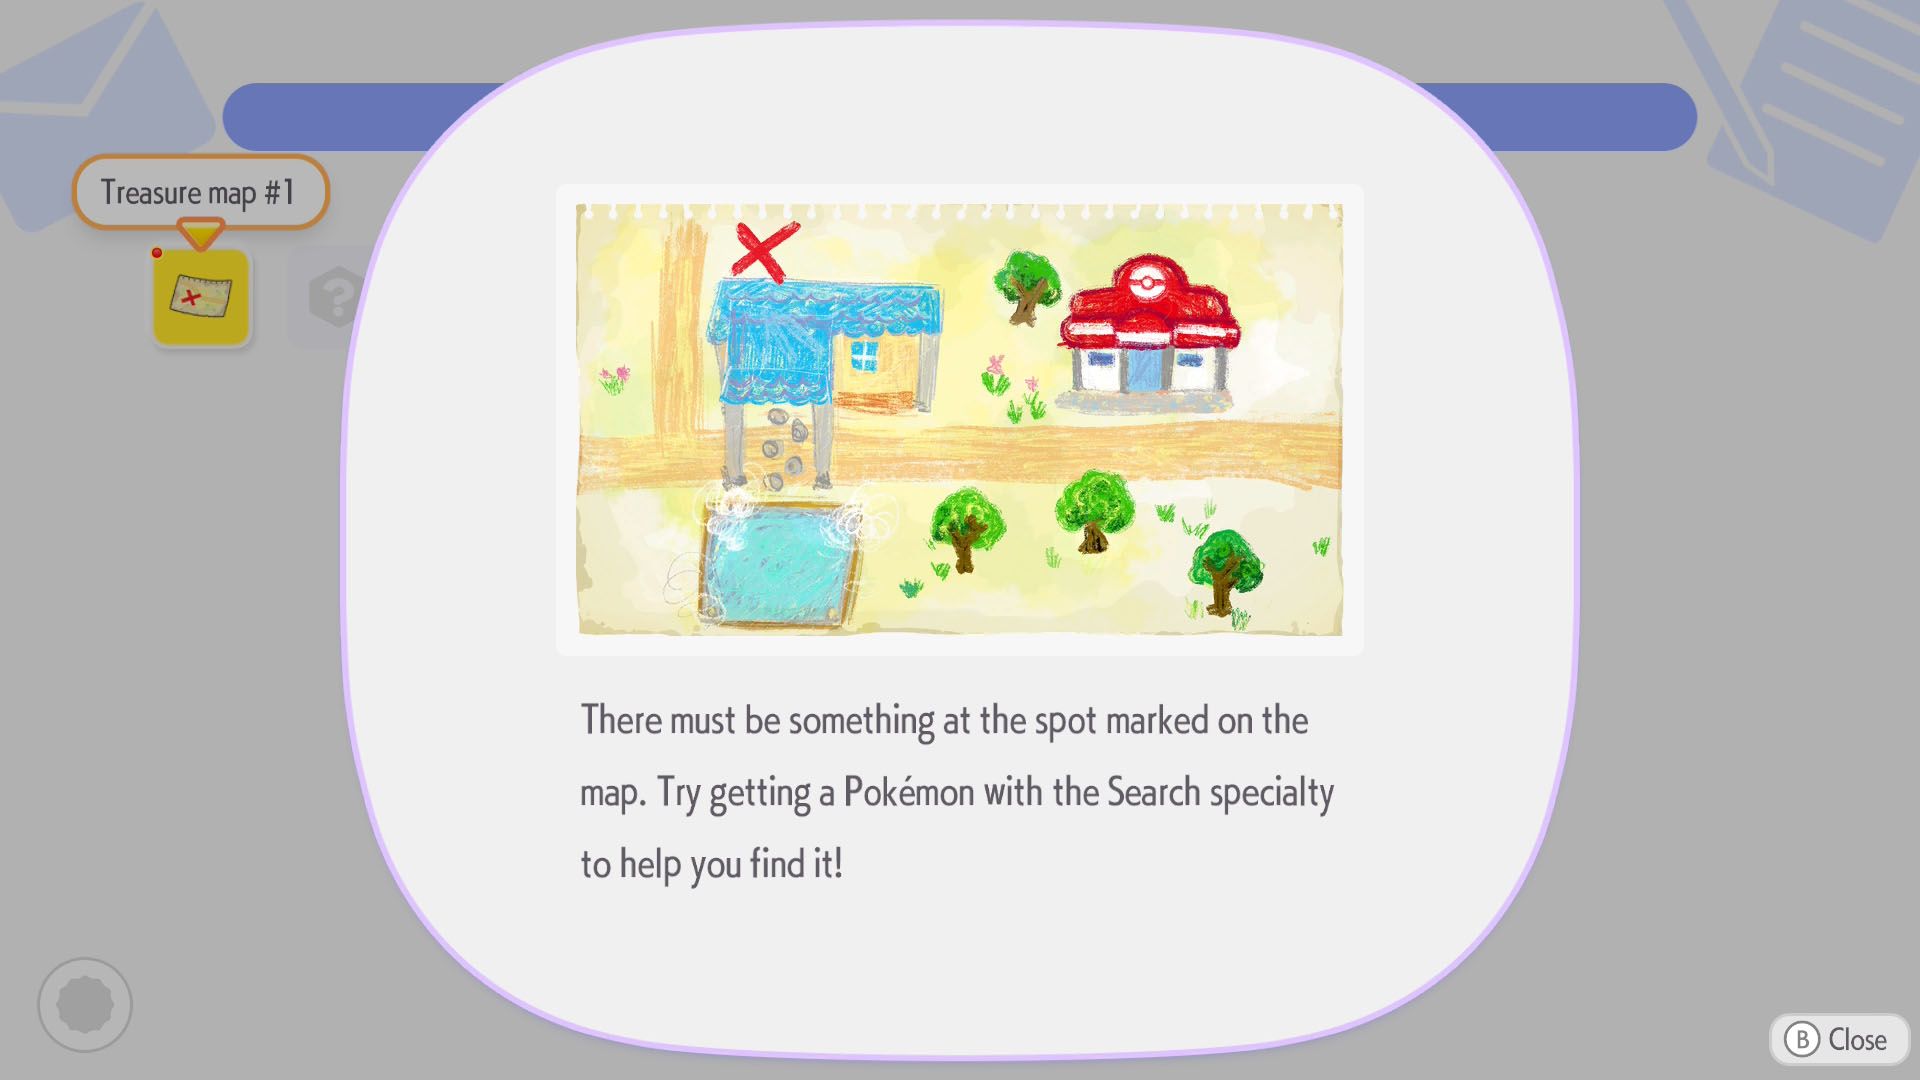
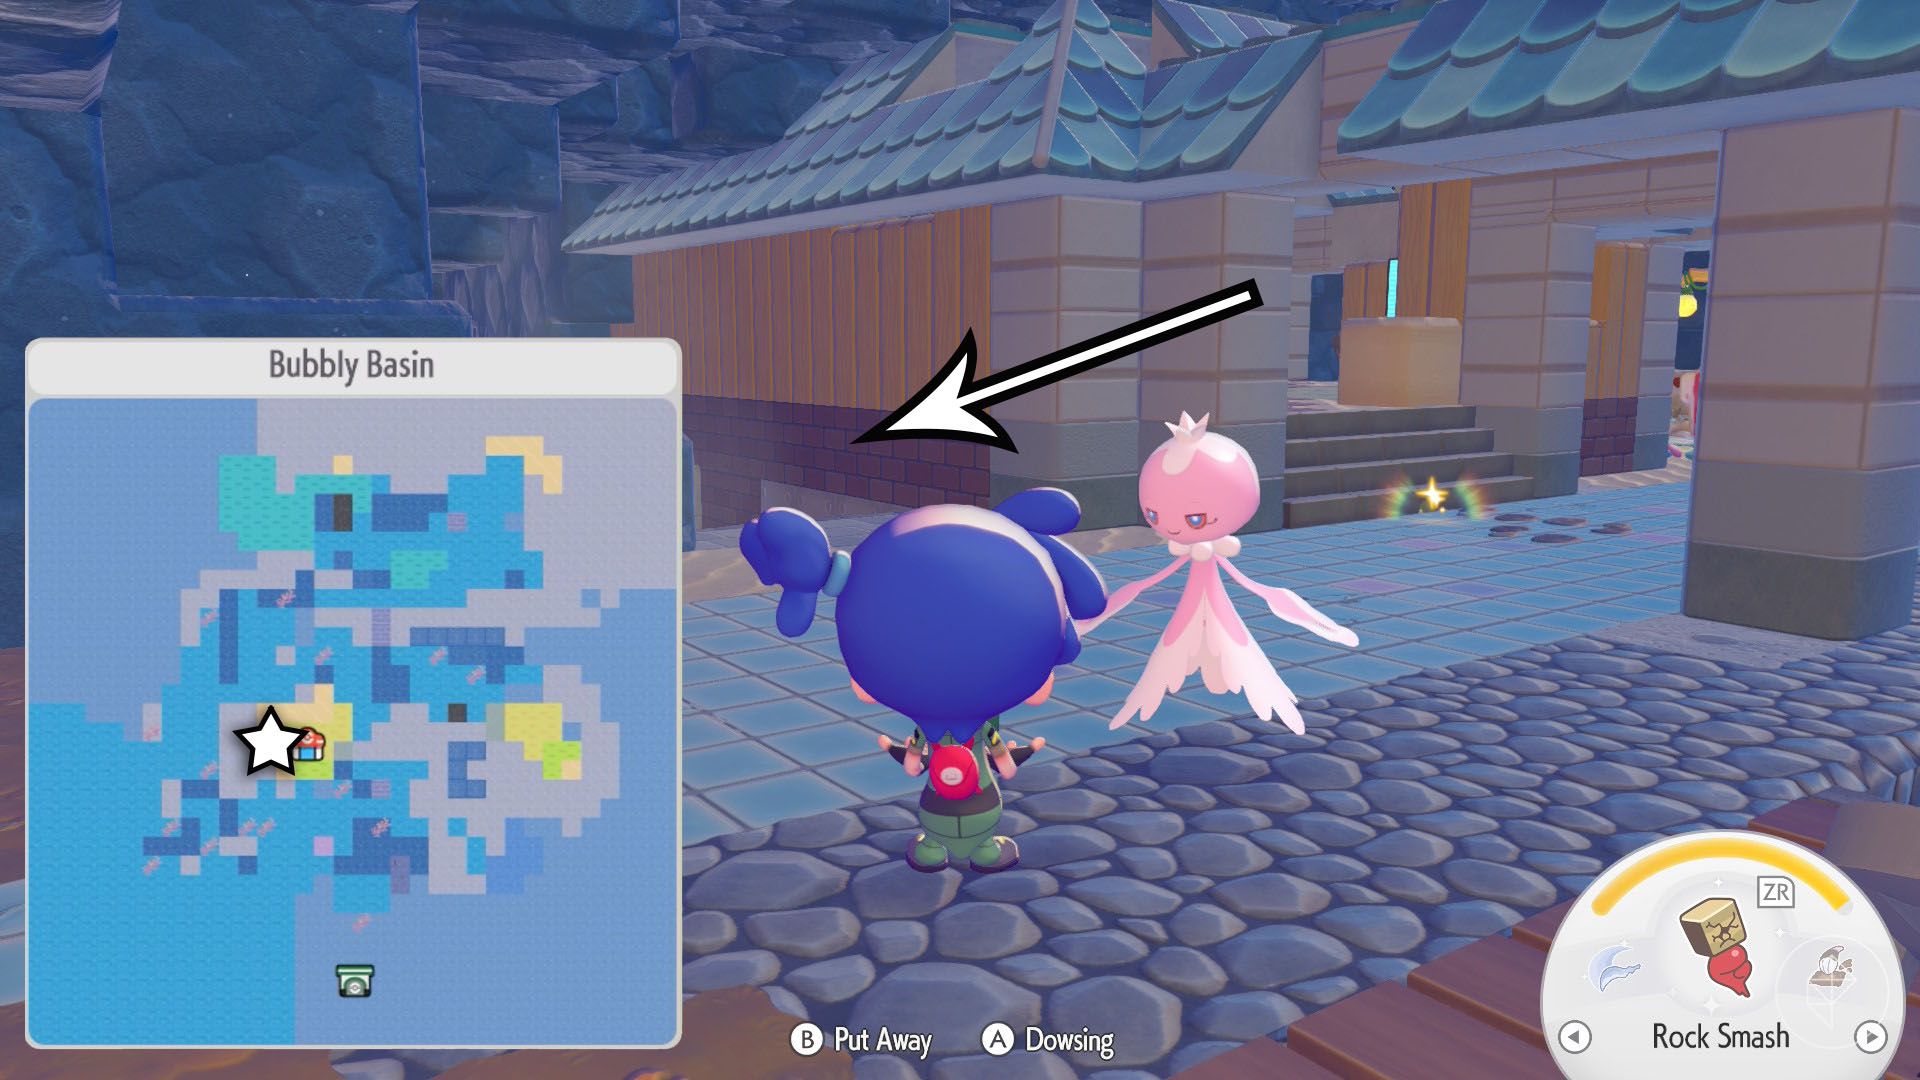
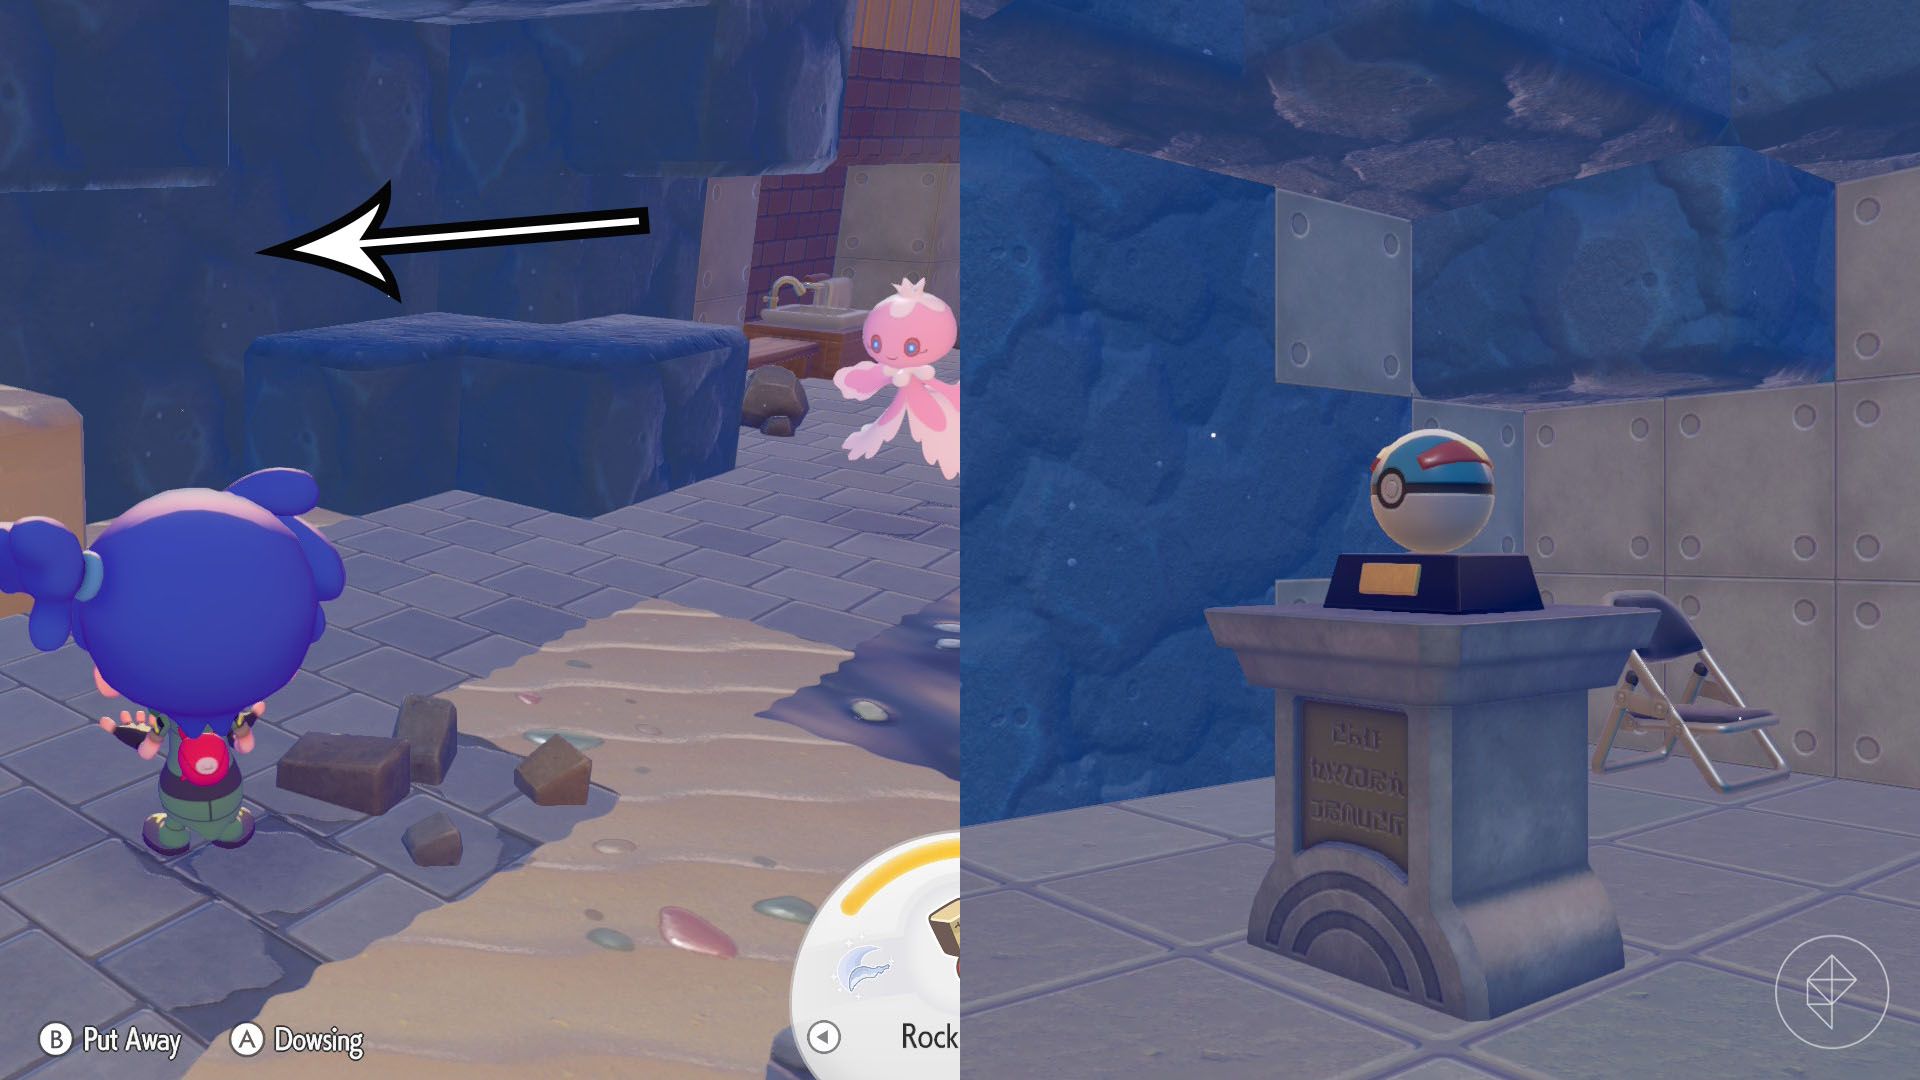


Go to the bathing house beside the Pokémon Center in Bubbly Basin. Take the stairs on the left, then find the blue-rock wall beyond the bench. Break through it to enter the secret room containing the decorative Great Ball.
Treasure Map 2: Decorative Heal Ball
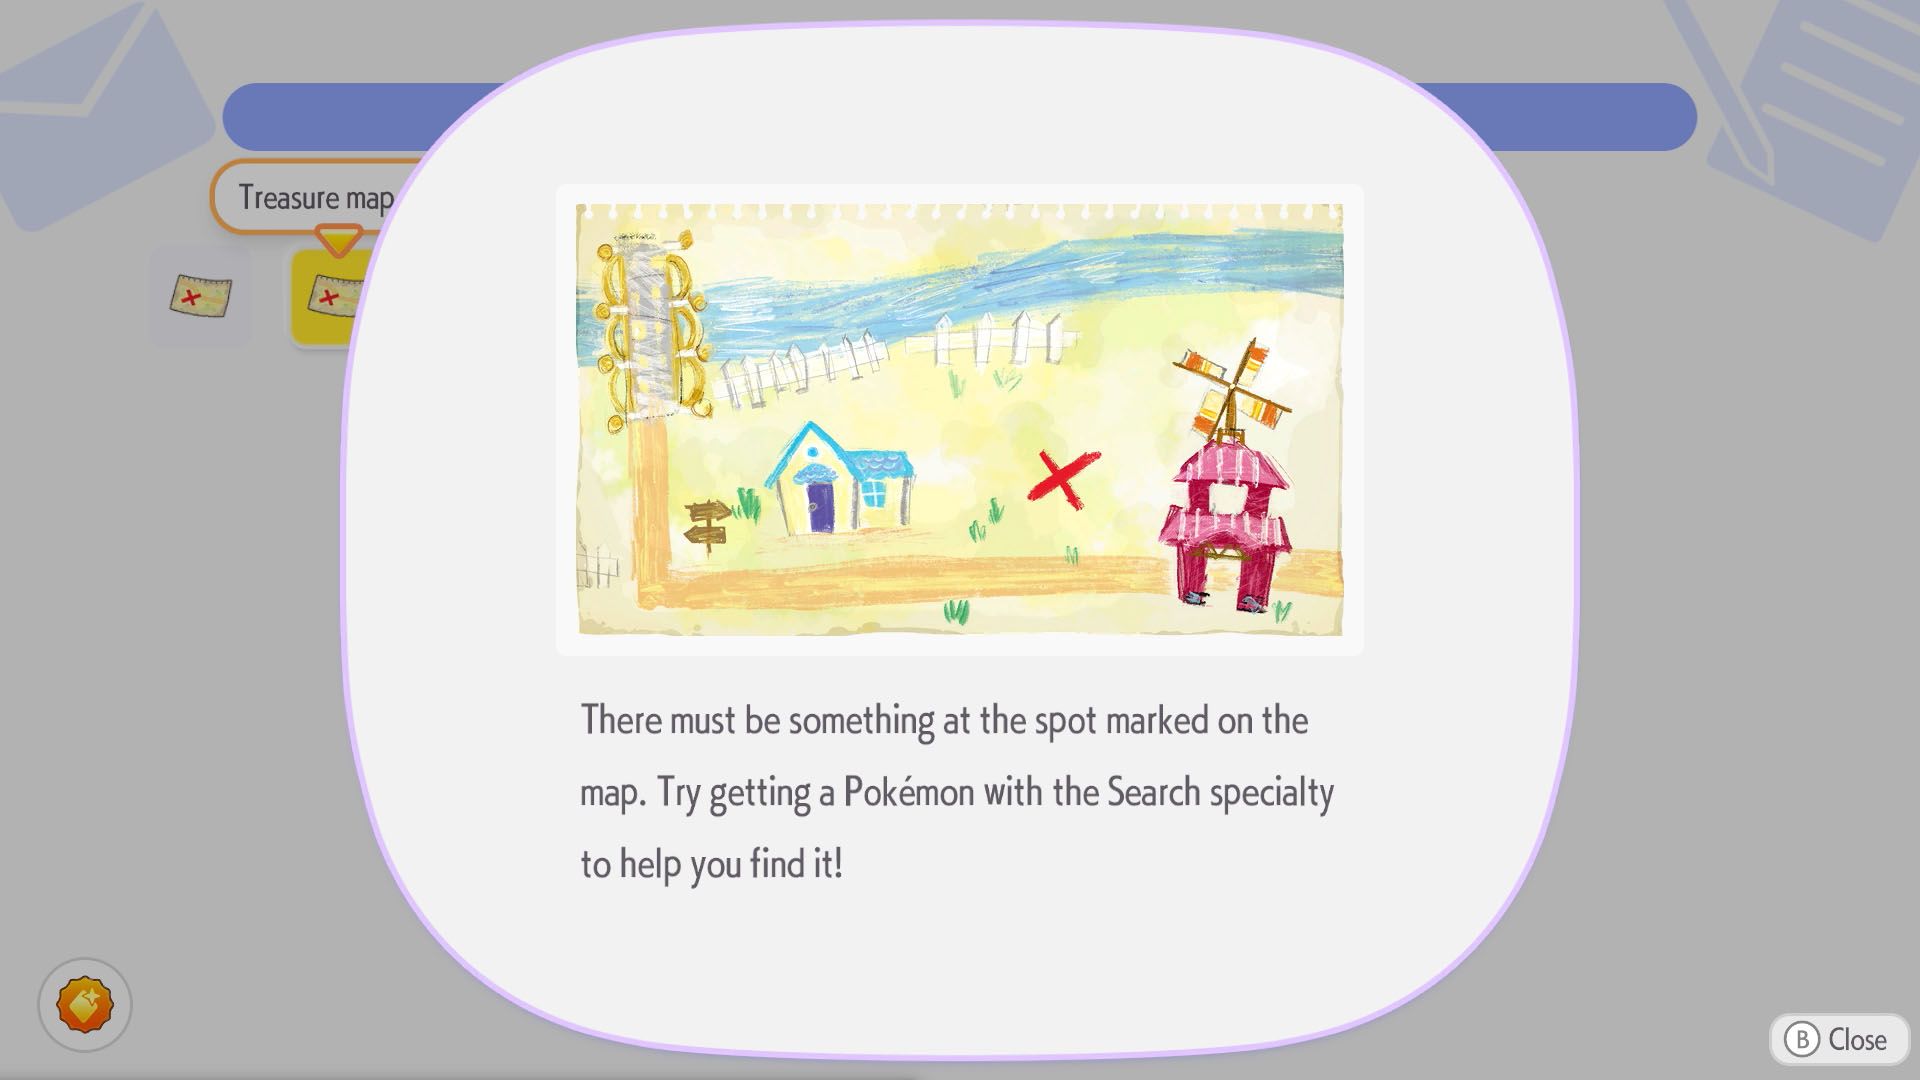
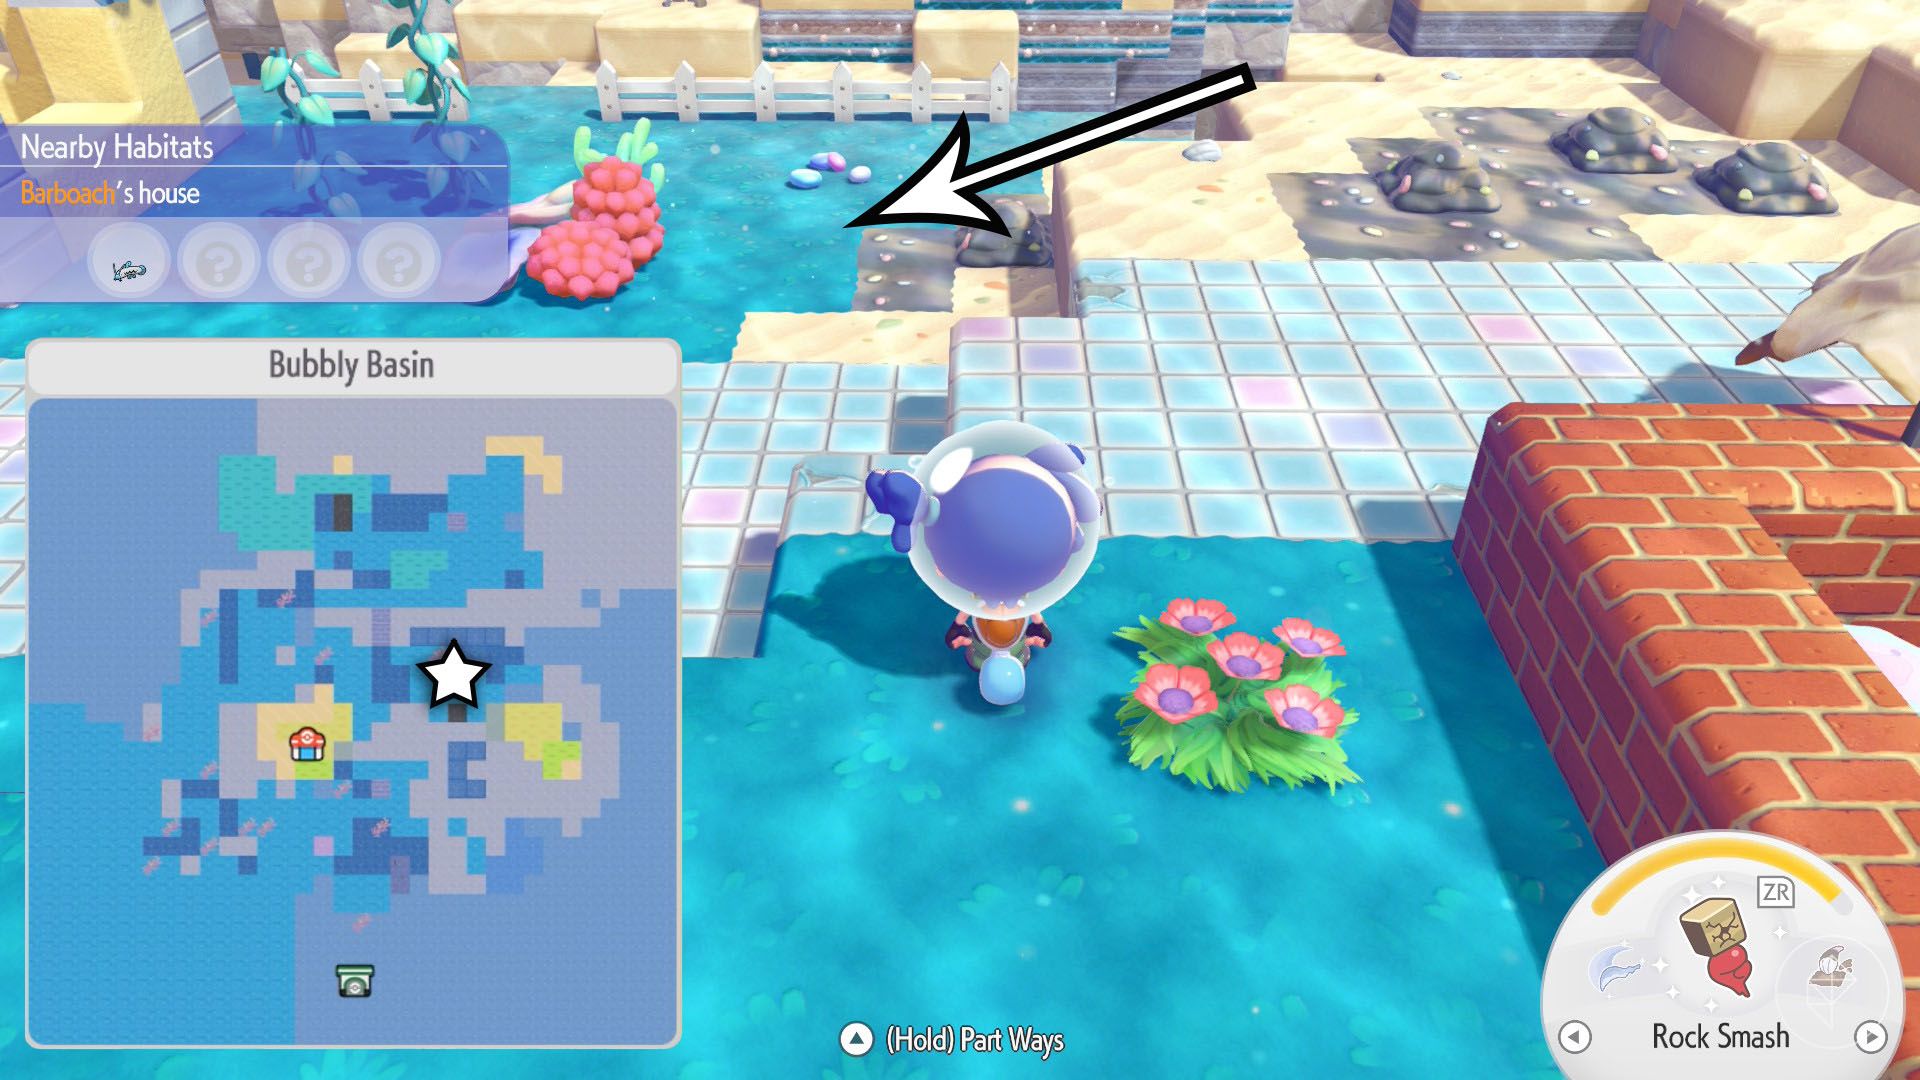
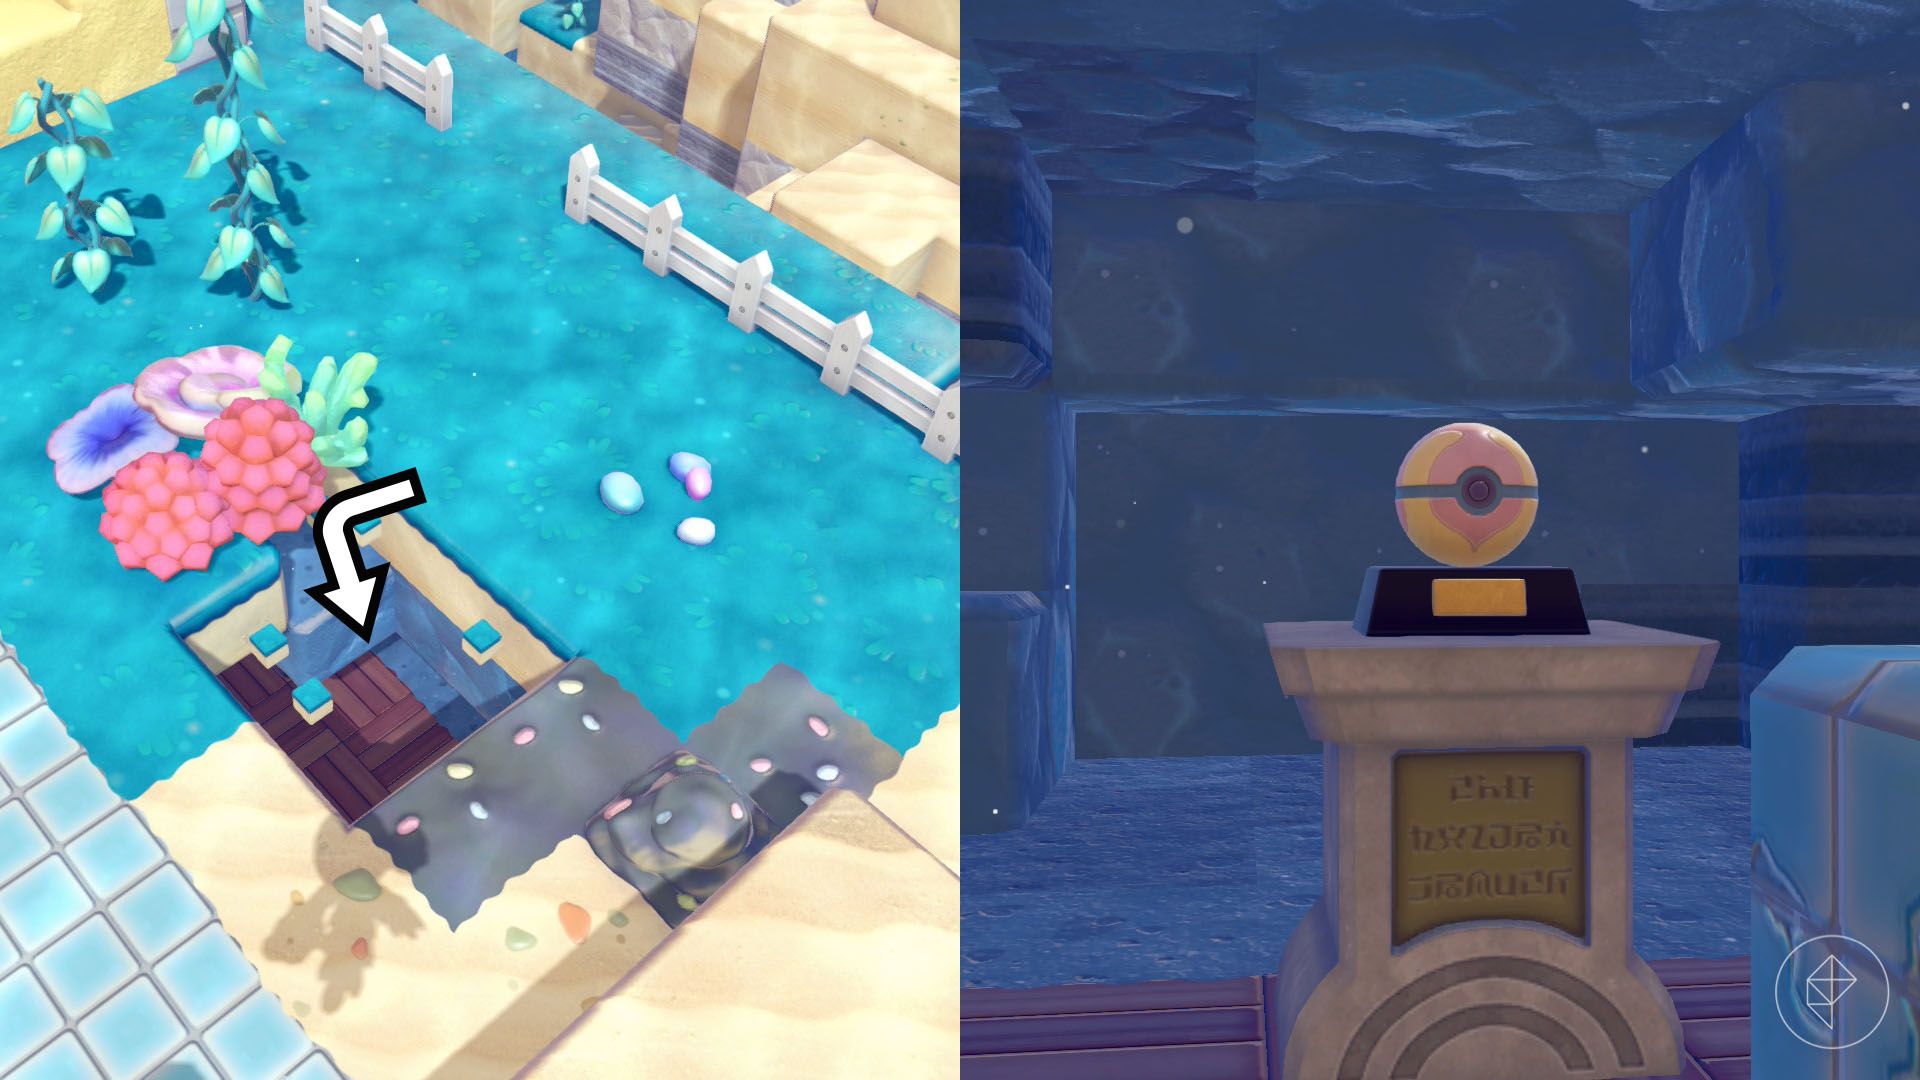


The second treasure is in an underground chamber northeast of the ocean temple. Swim past the tall red-roofed building towards the area where Barboach appears during the “Build the Beautiful Building!” request. Dig through the ground near the large coral until you uncover the room and its decorative Heal Ball.
Treasure Map 3: Decorative Dive Ball
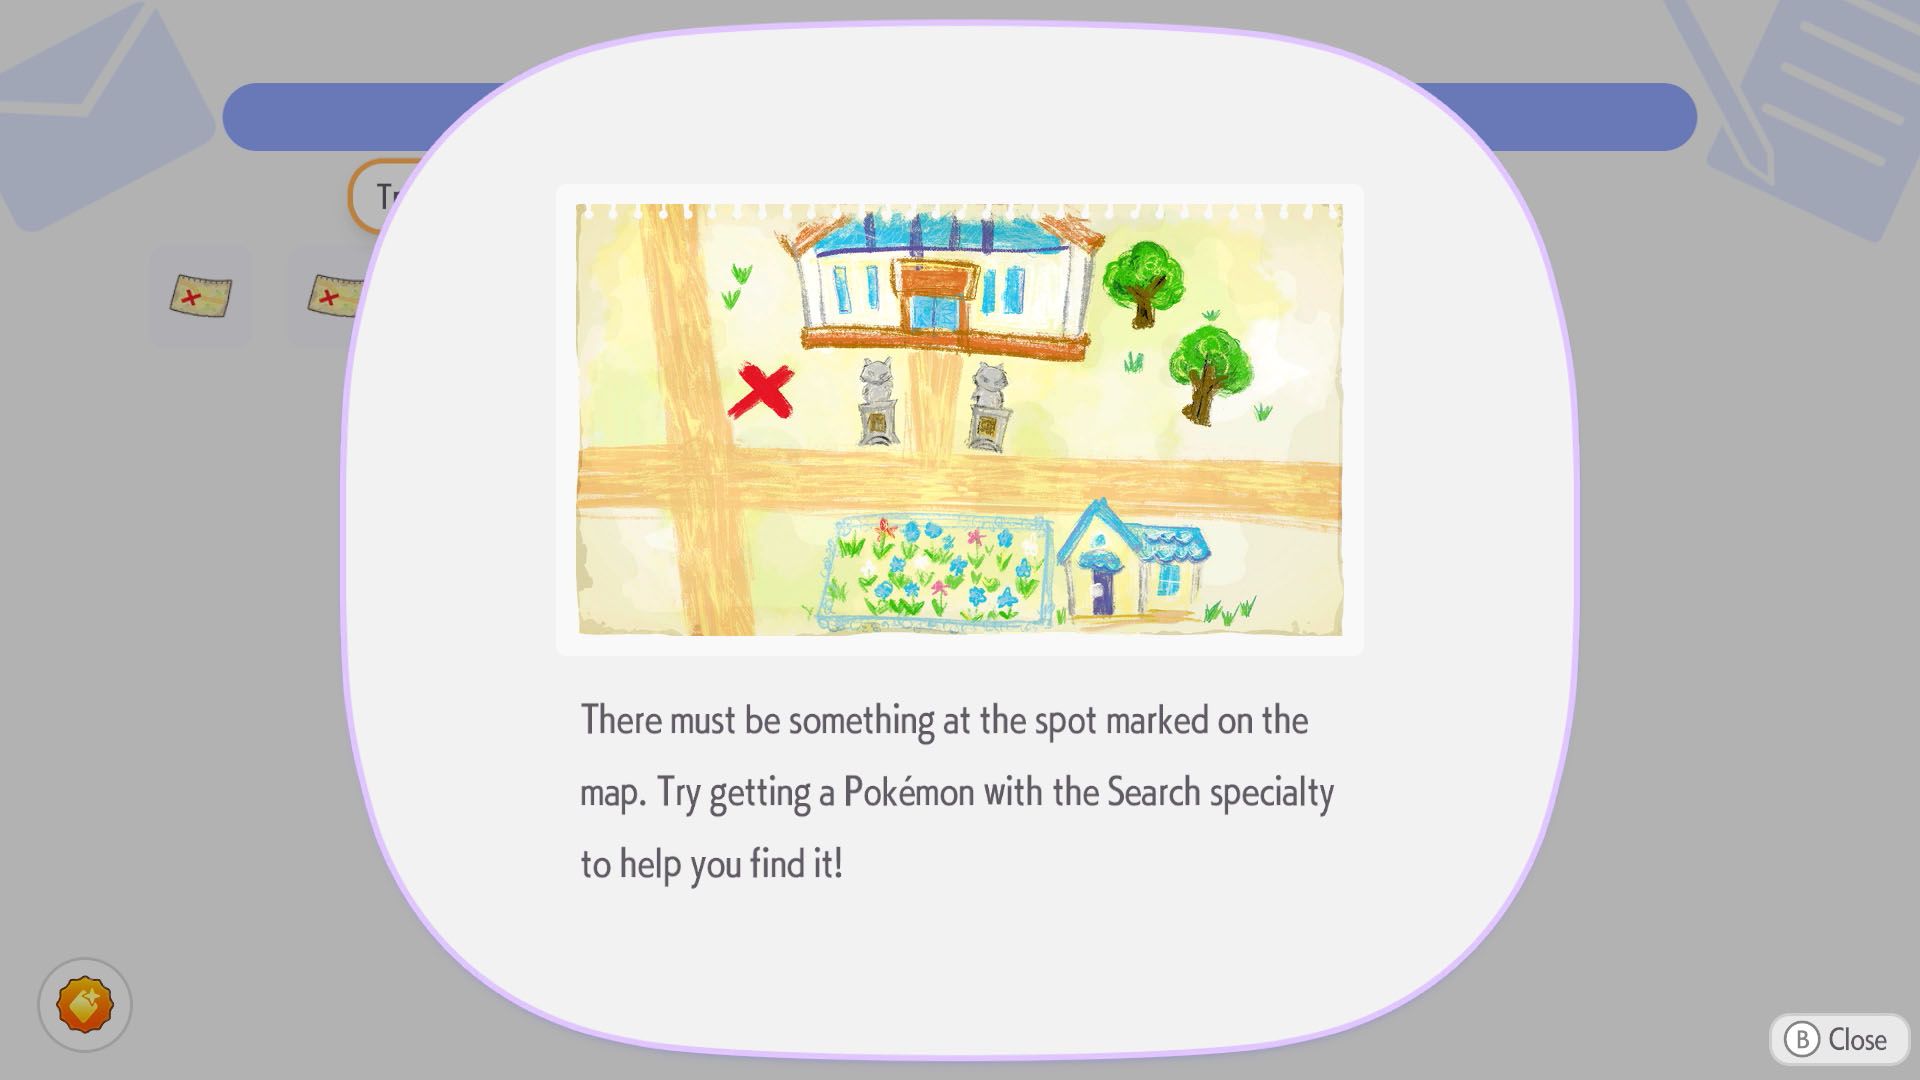
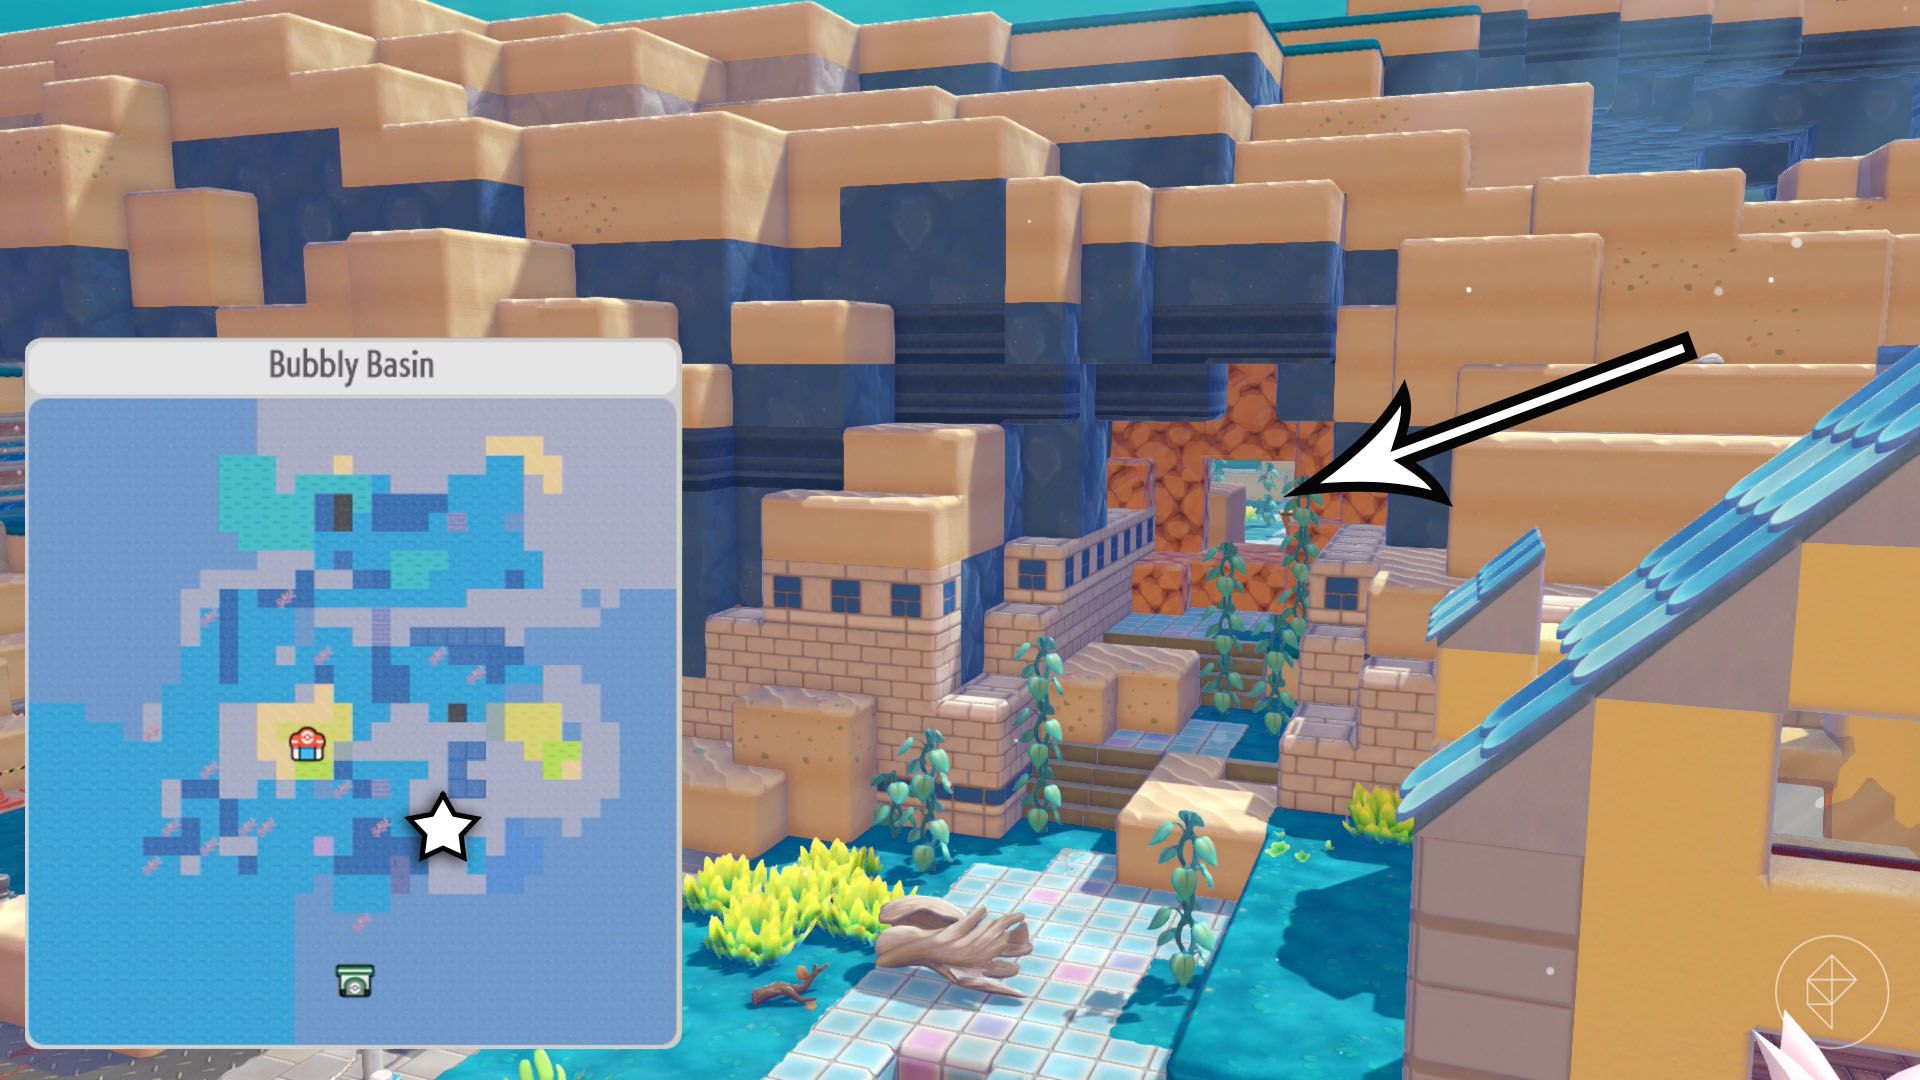
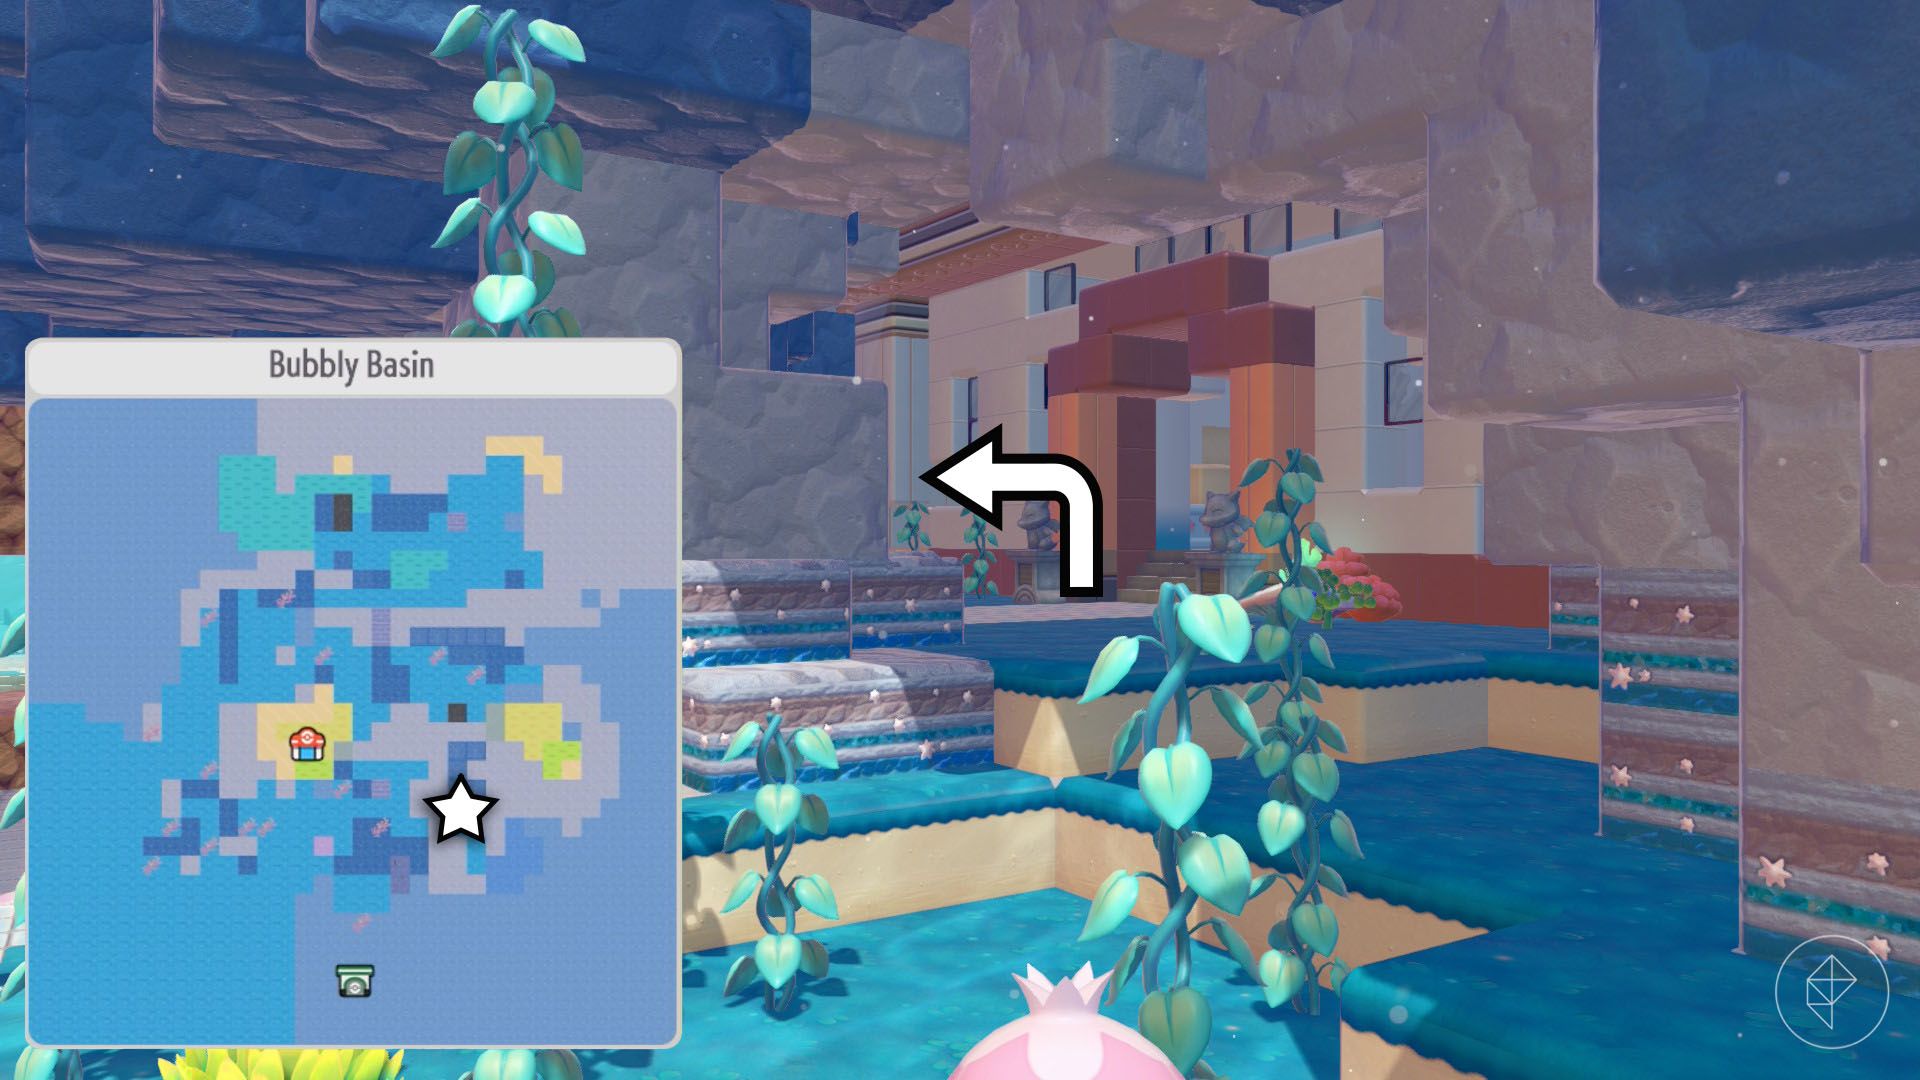
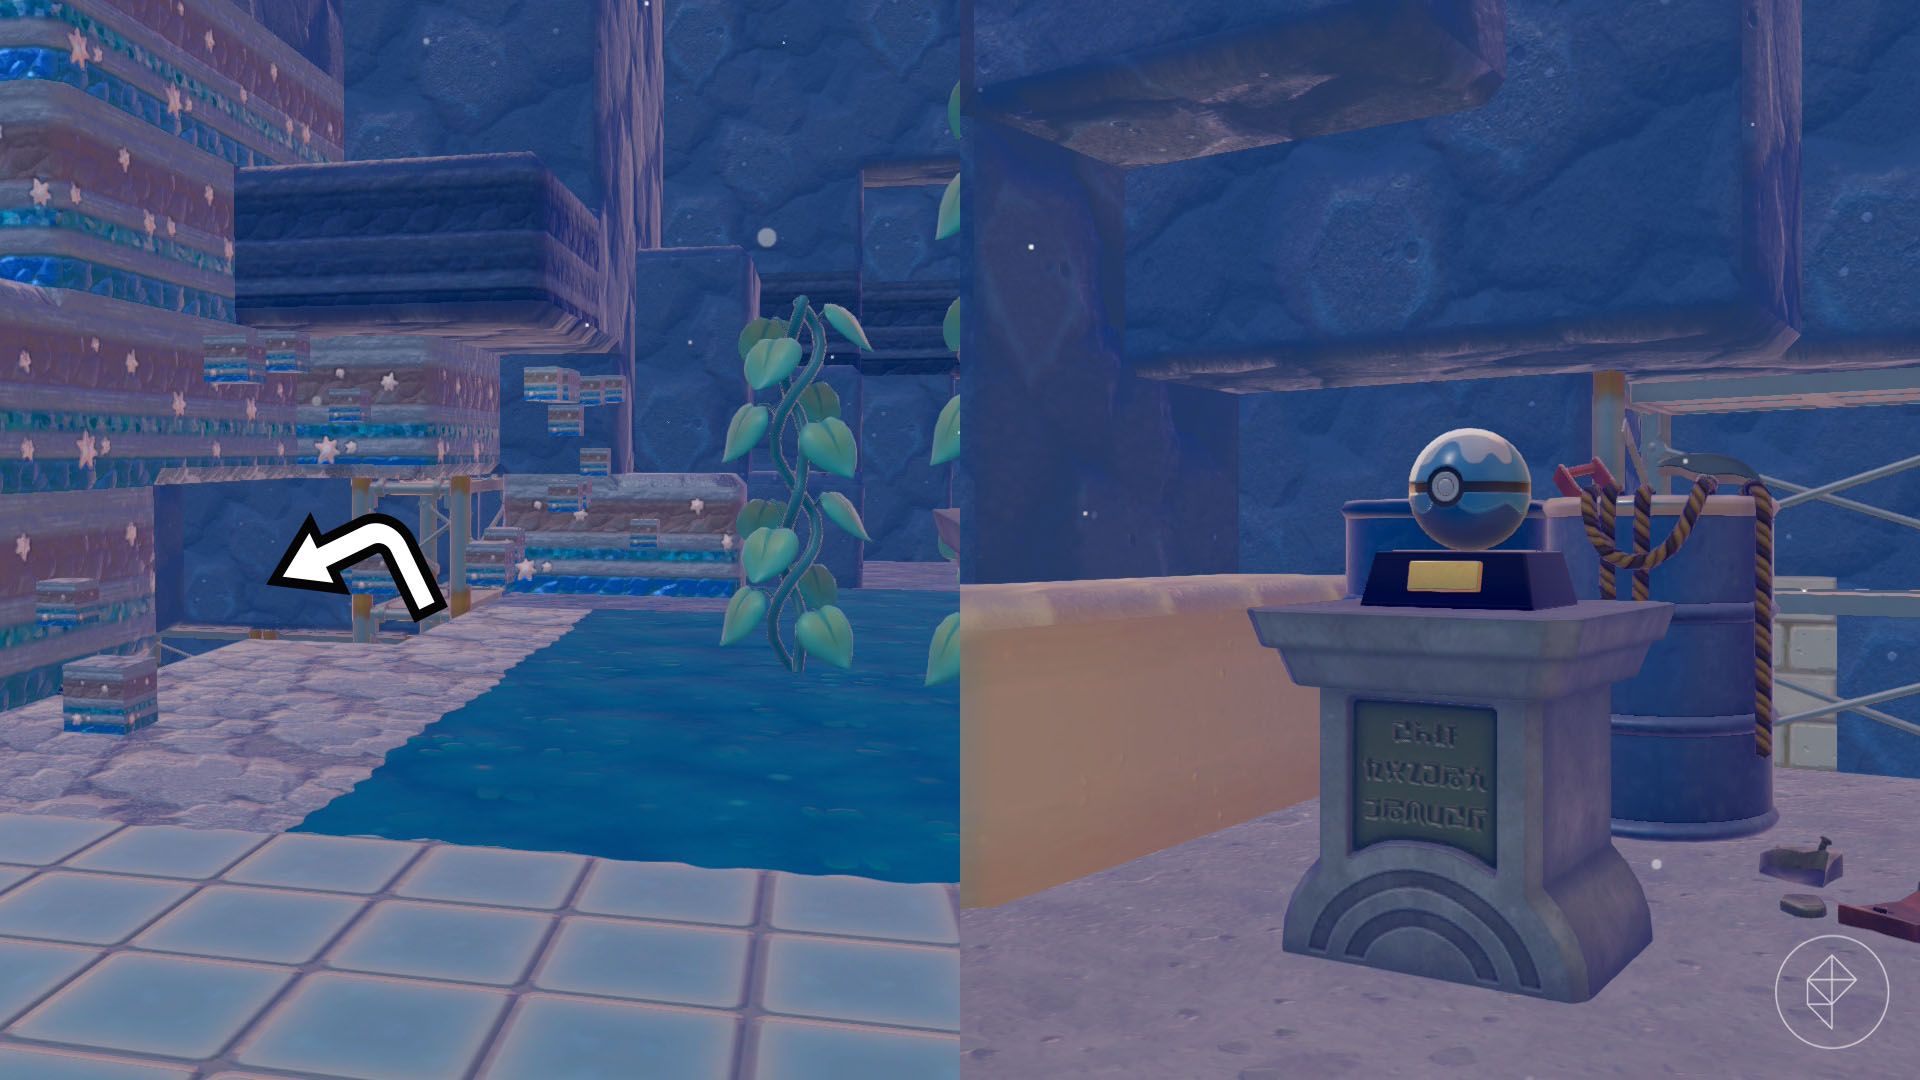


Travel east from the main square to the abandoned gym. Break through the dirt-block wall to reach the gym path. Stand in front of the building, turn south and destroy the wall made from star-spotted rocks. The hidden room contains the decorative Dive Ball.
Treasure Map 4: Decorative Net Ball
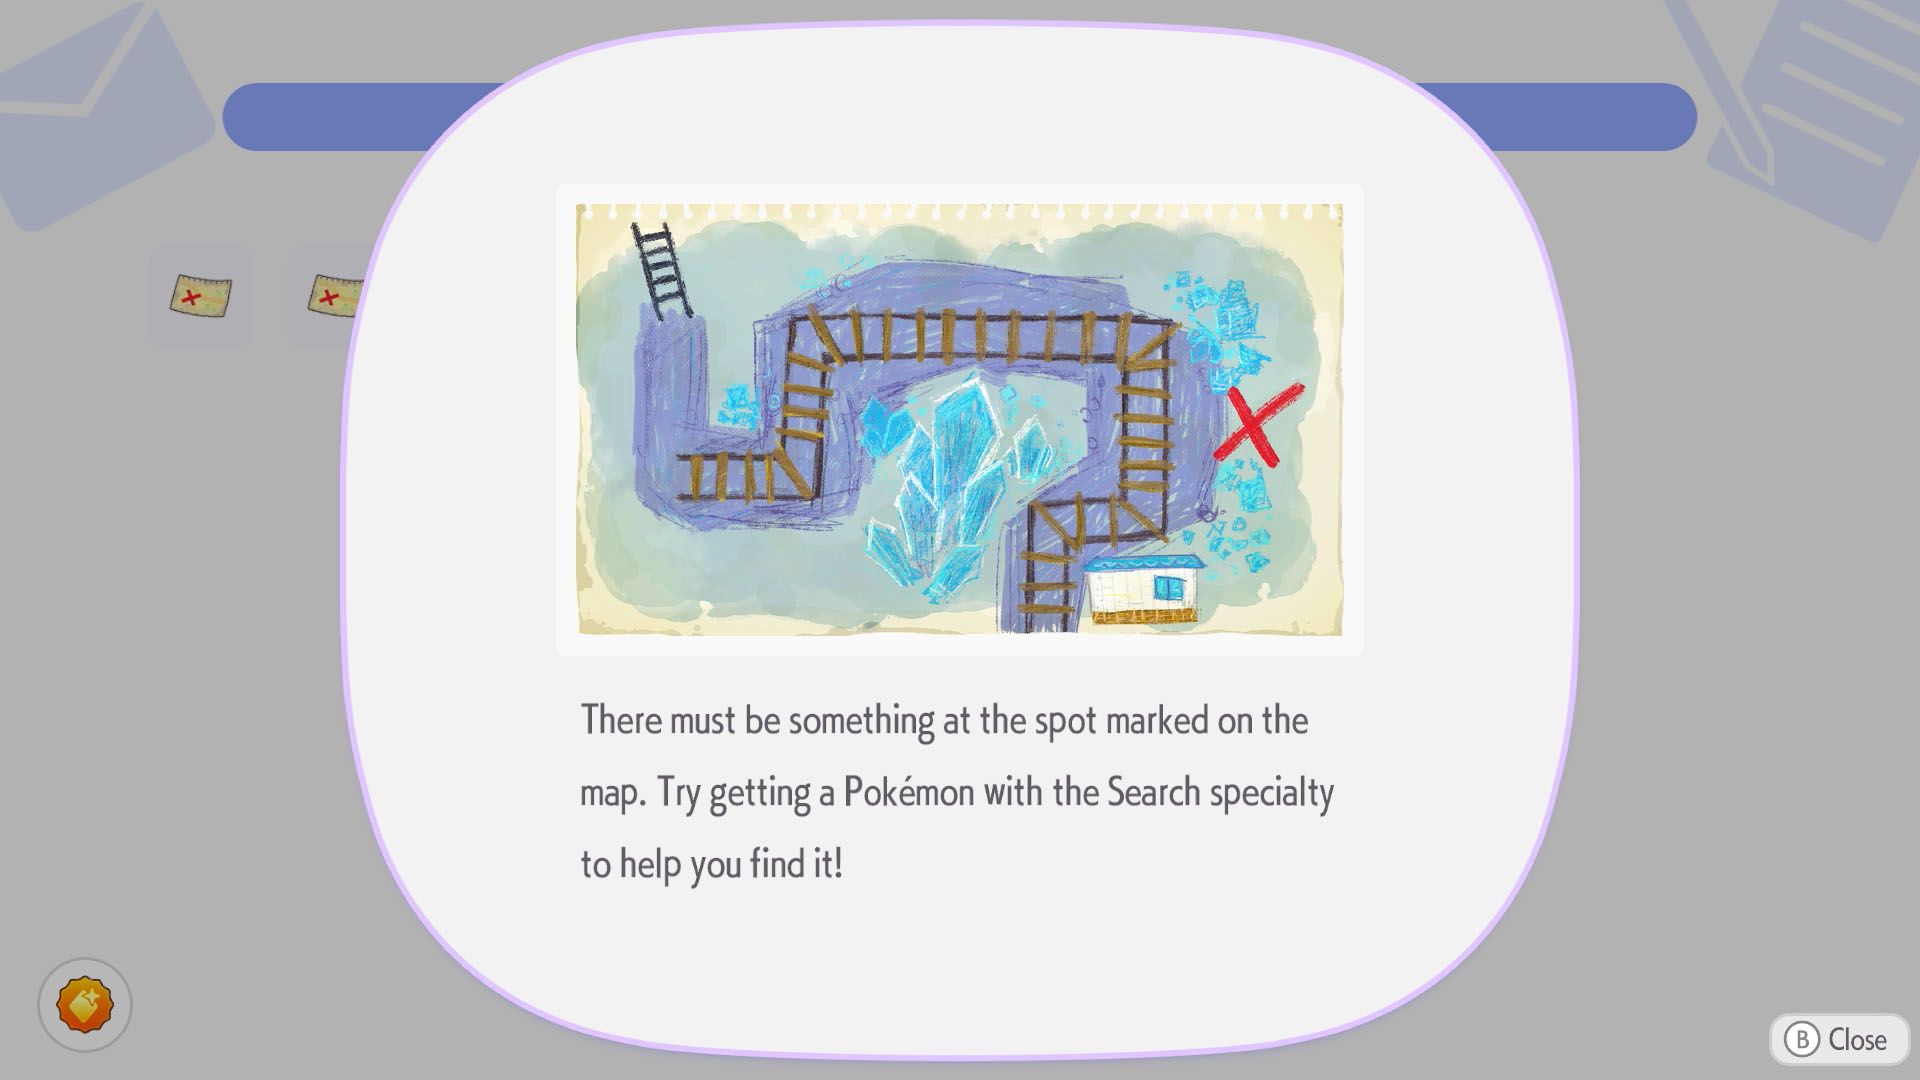
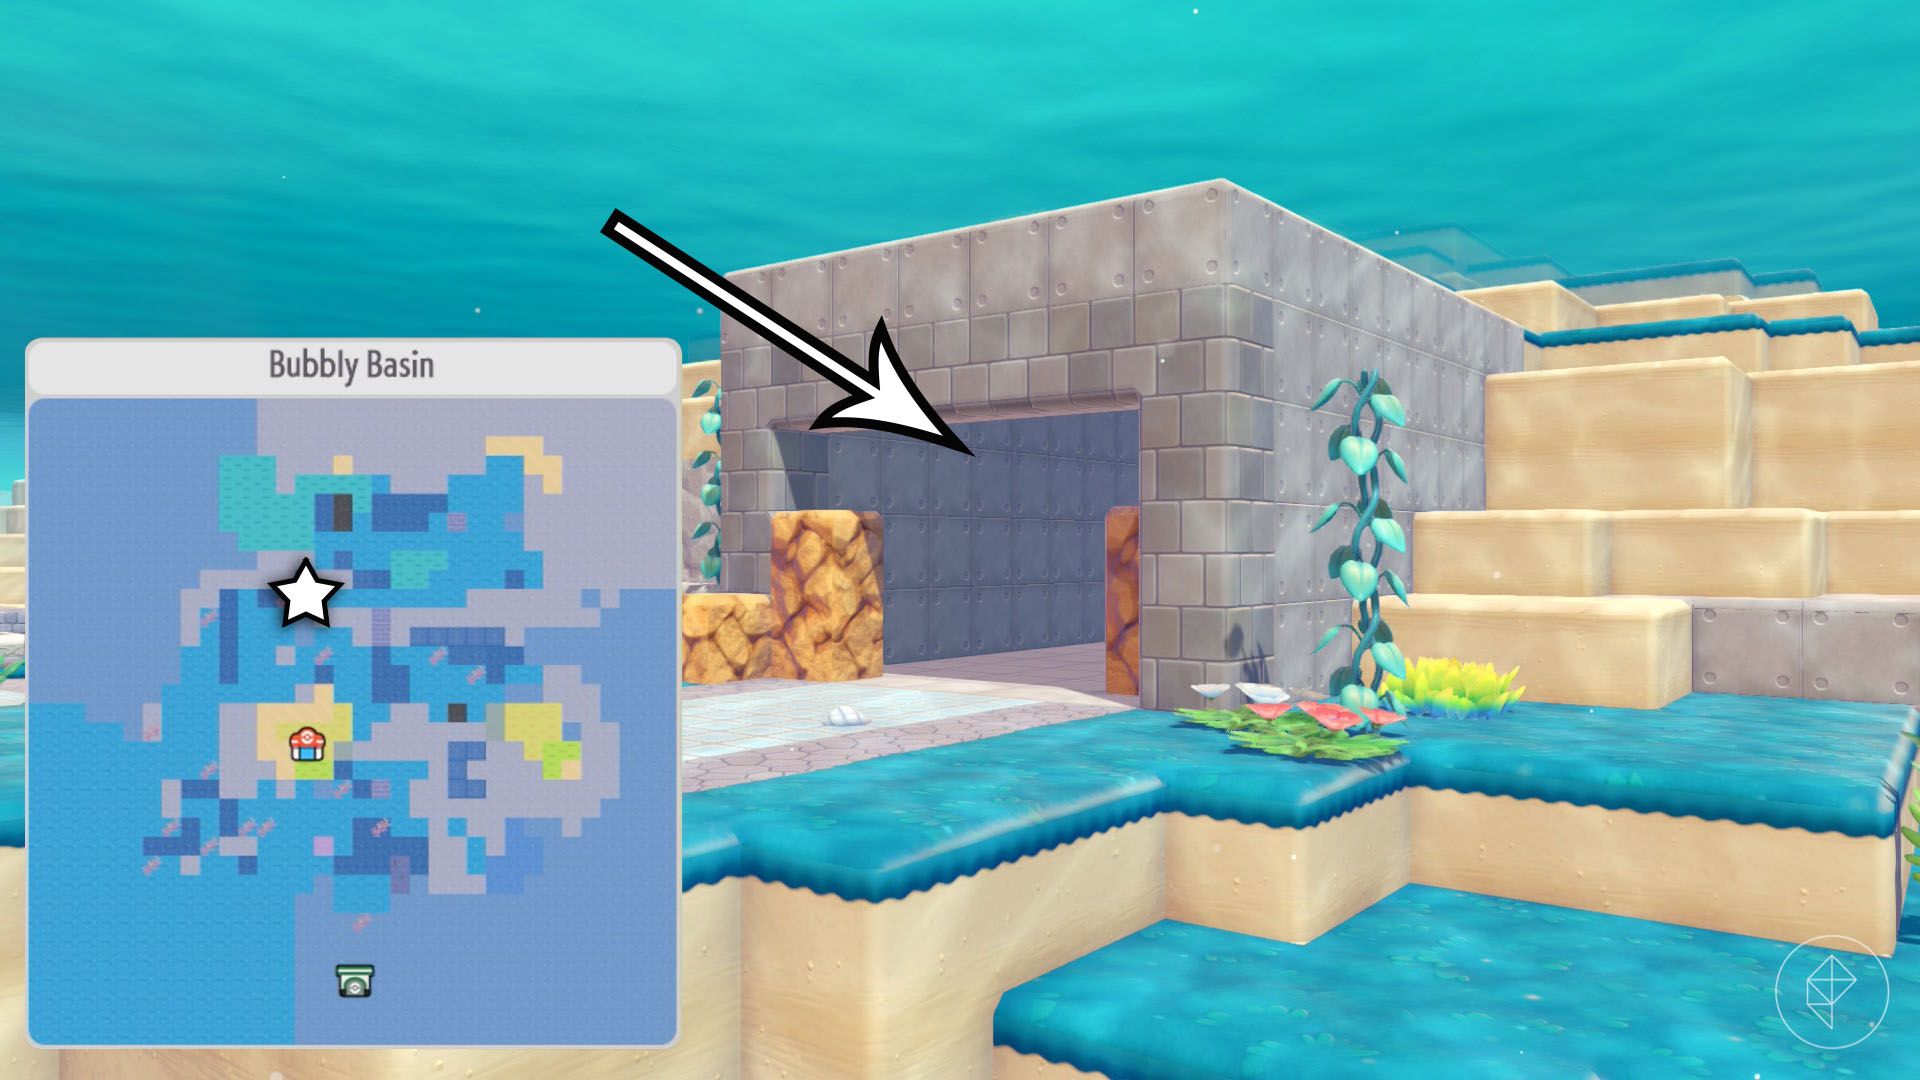
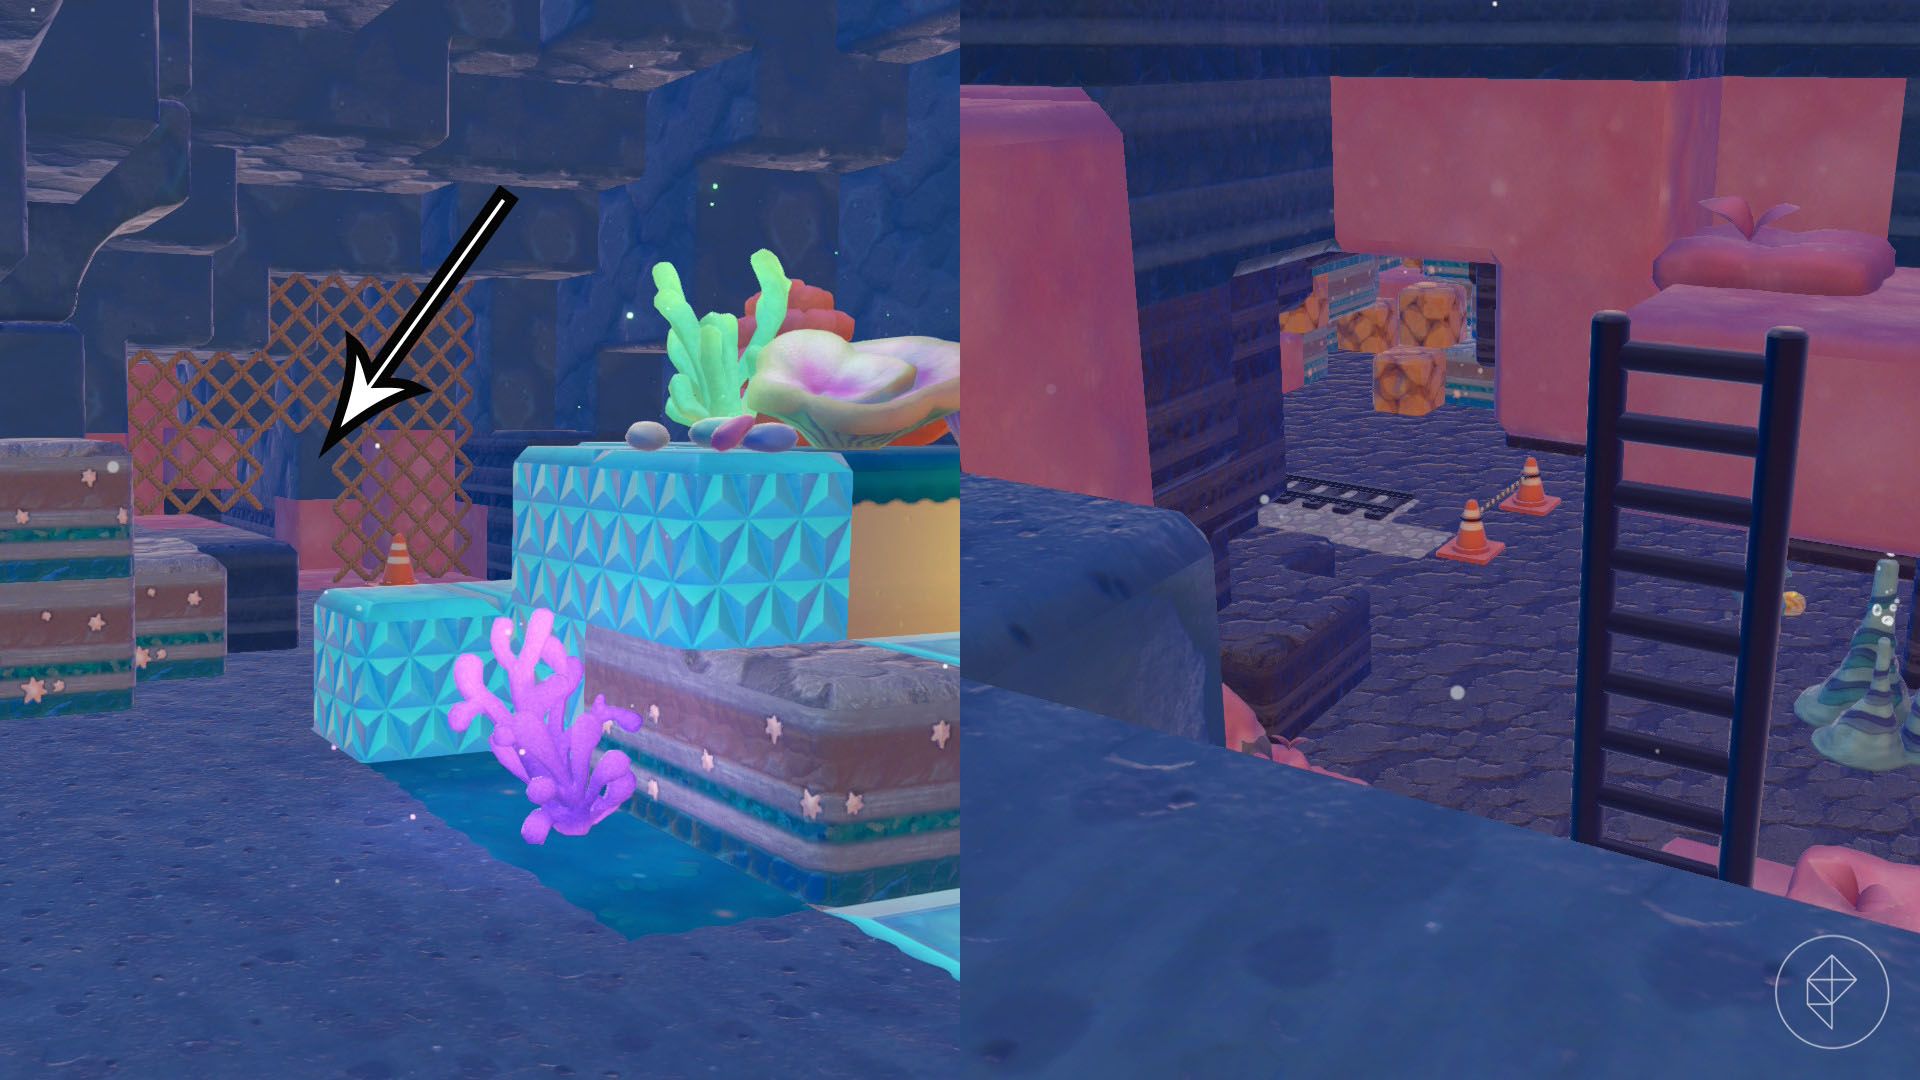
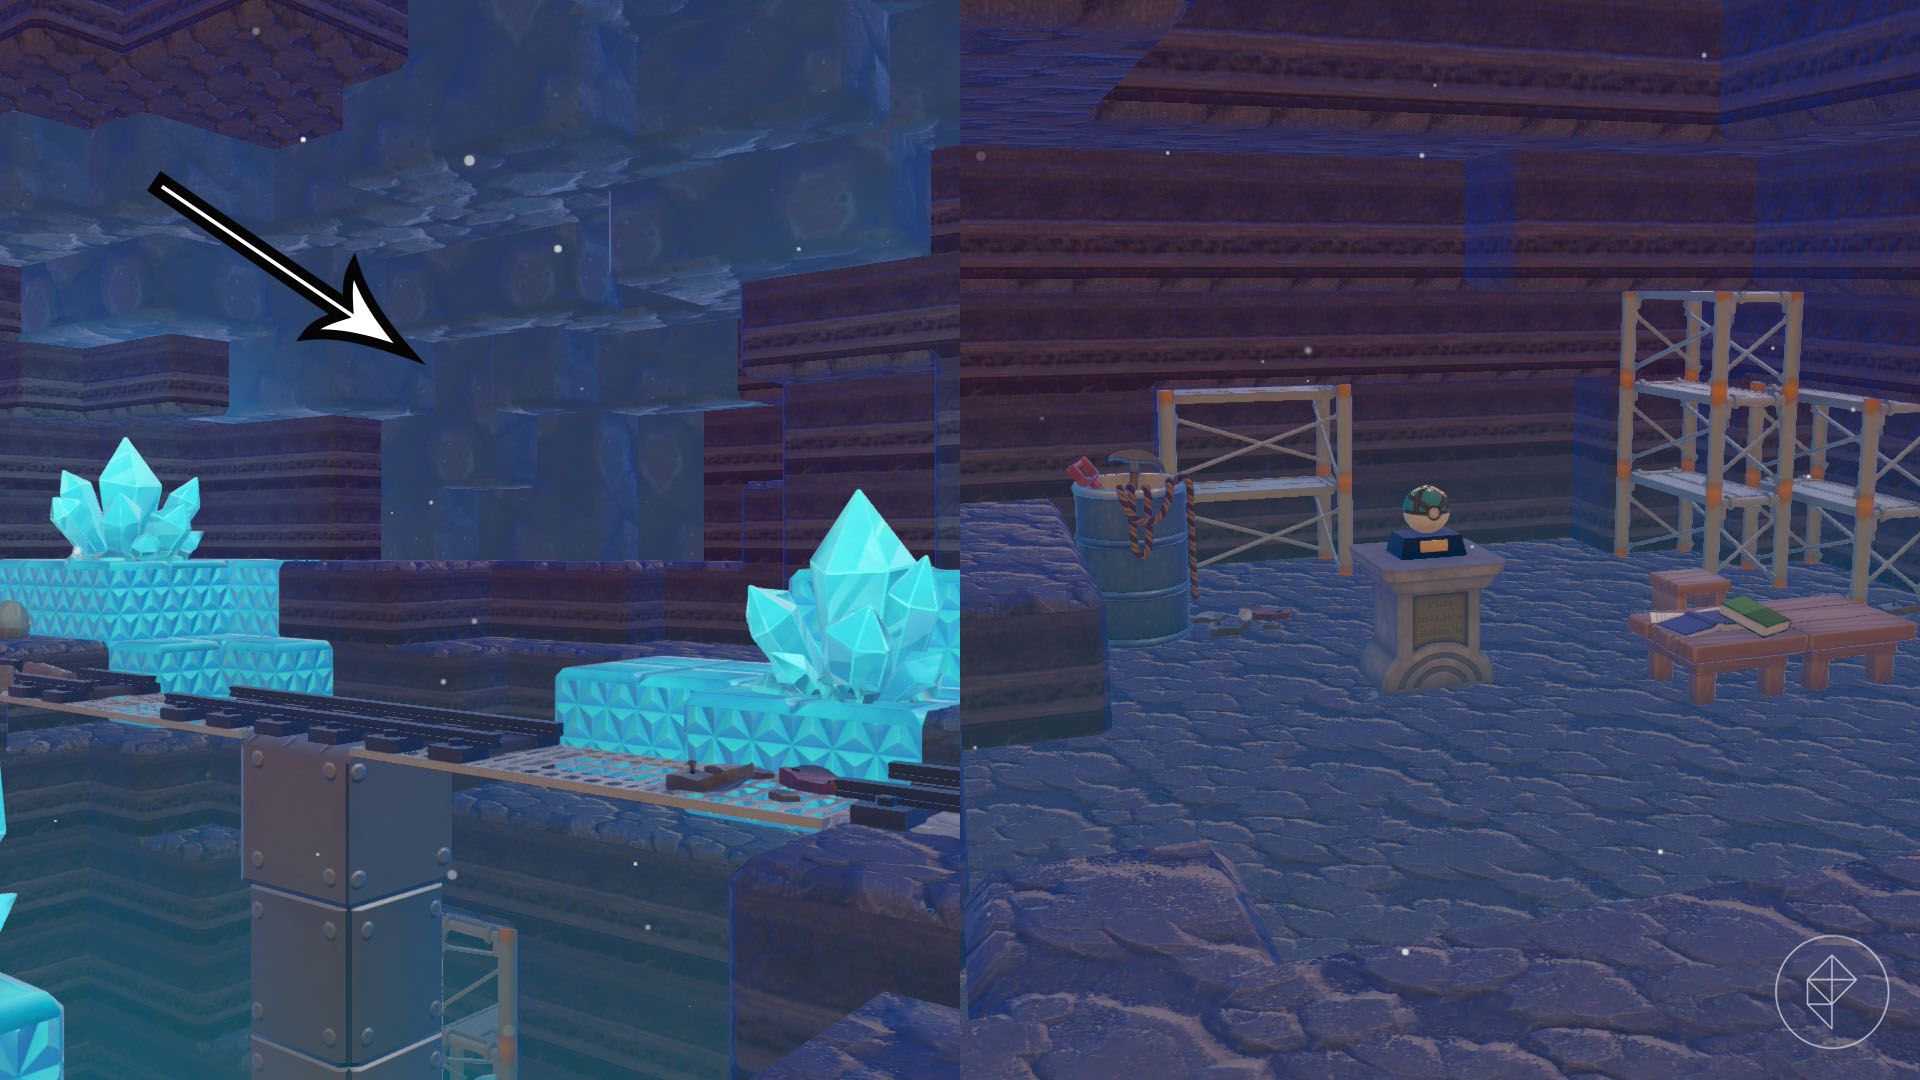


Enter the cave northwest of the main square, the same cave where you meet Frillish during the “Build the Beautiful Building!” request. Go past the entrance and jump back into the water. Break through the nets, continue downwards and follow the tracks into the room with blue crystals. On the southeastern side, destroy the blue-rock wall to reach the decorative Net Ball.
Treasure Map 5: Decorative Lure Ball
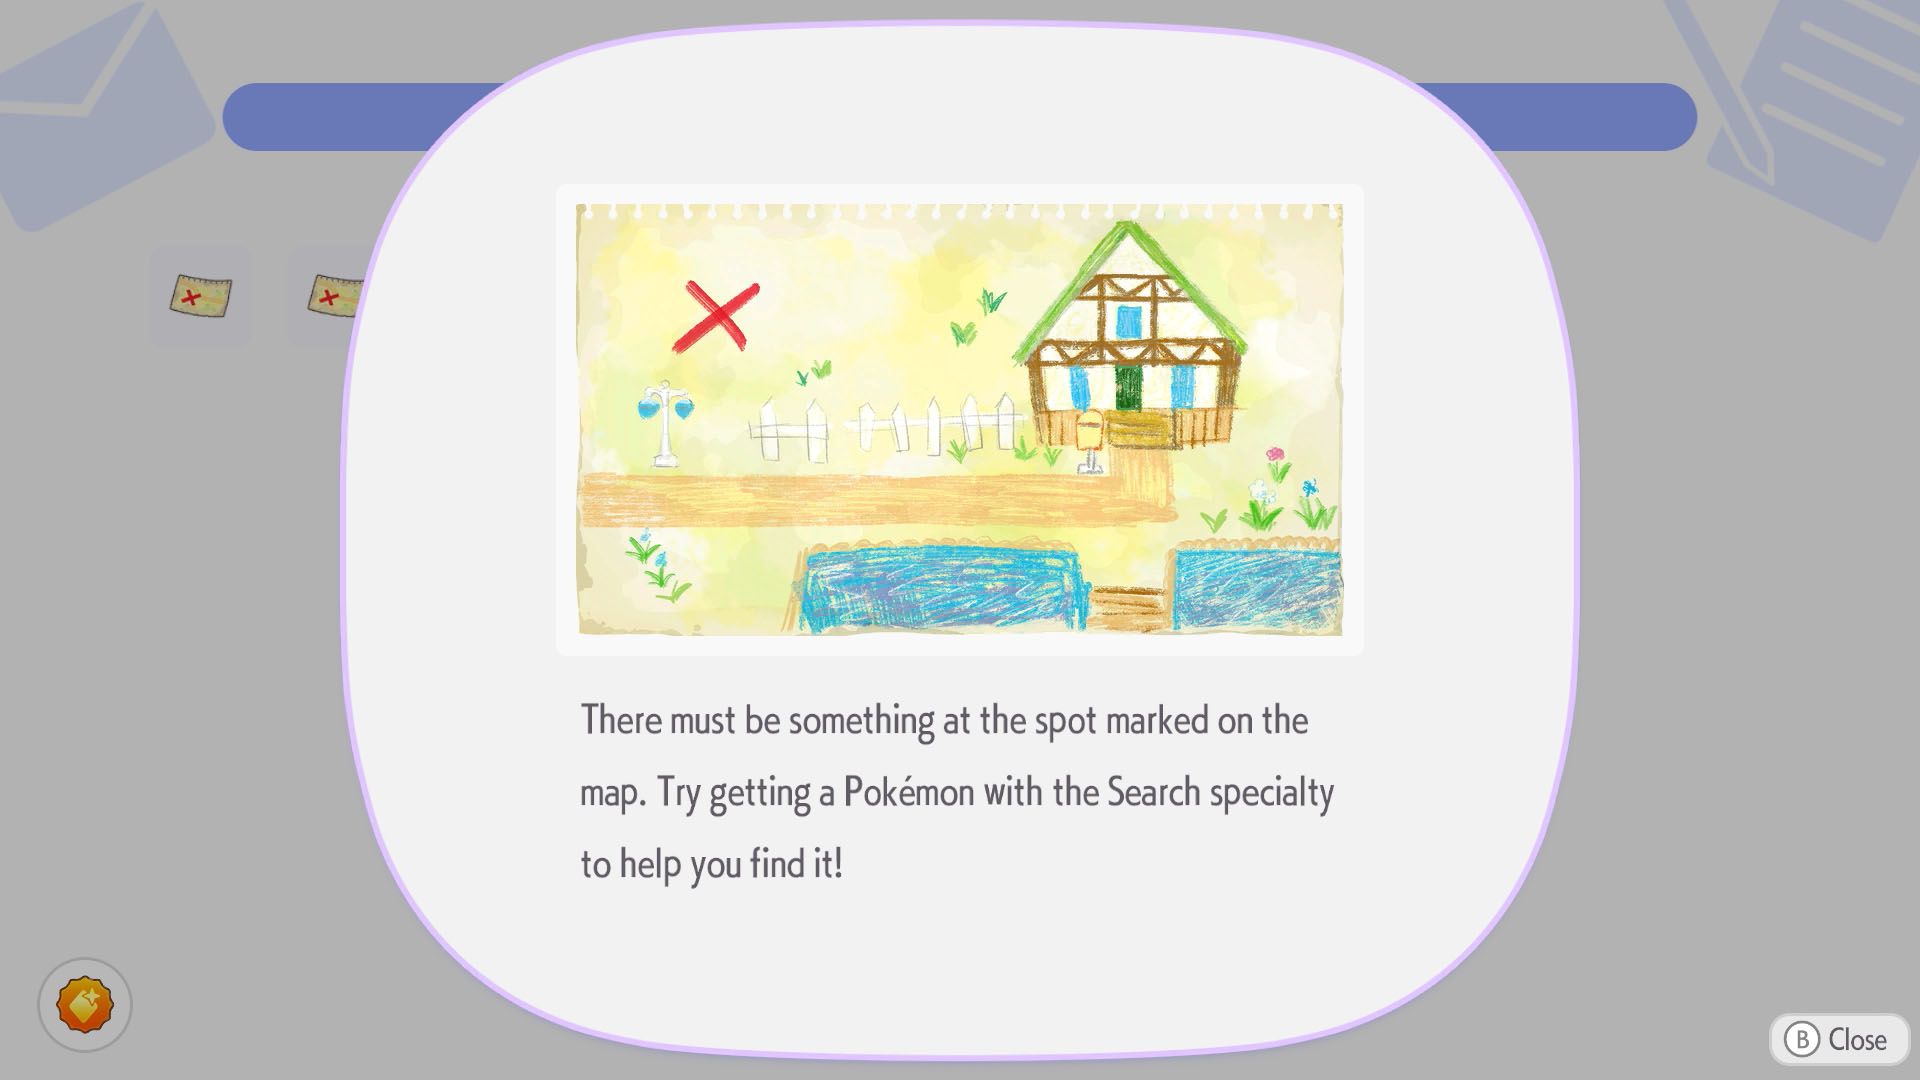
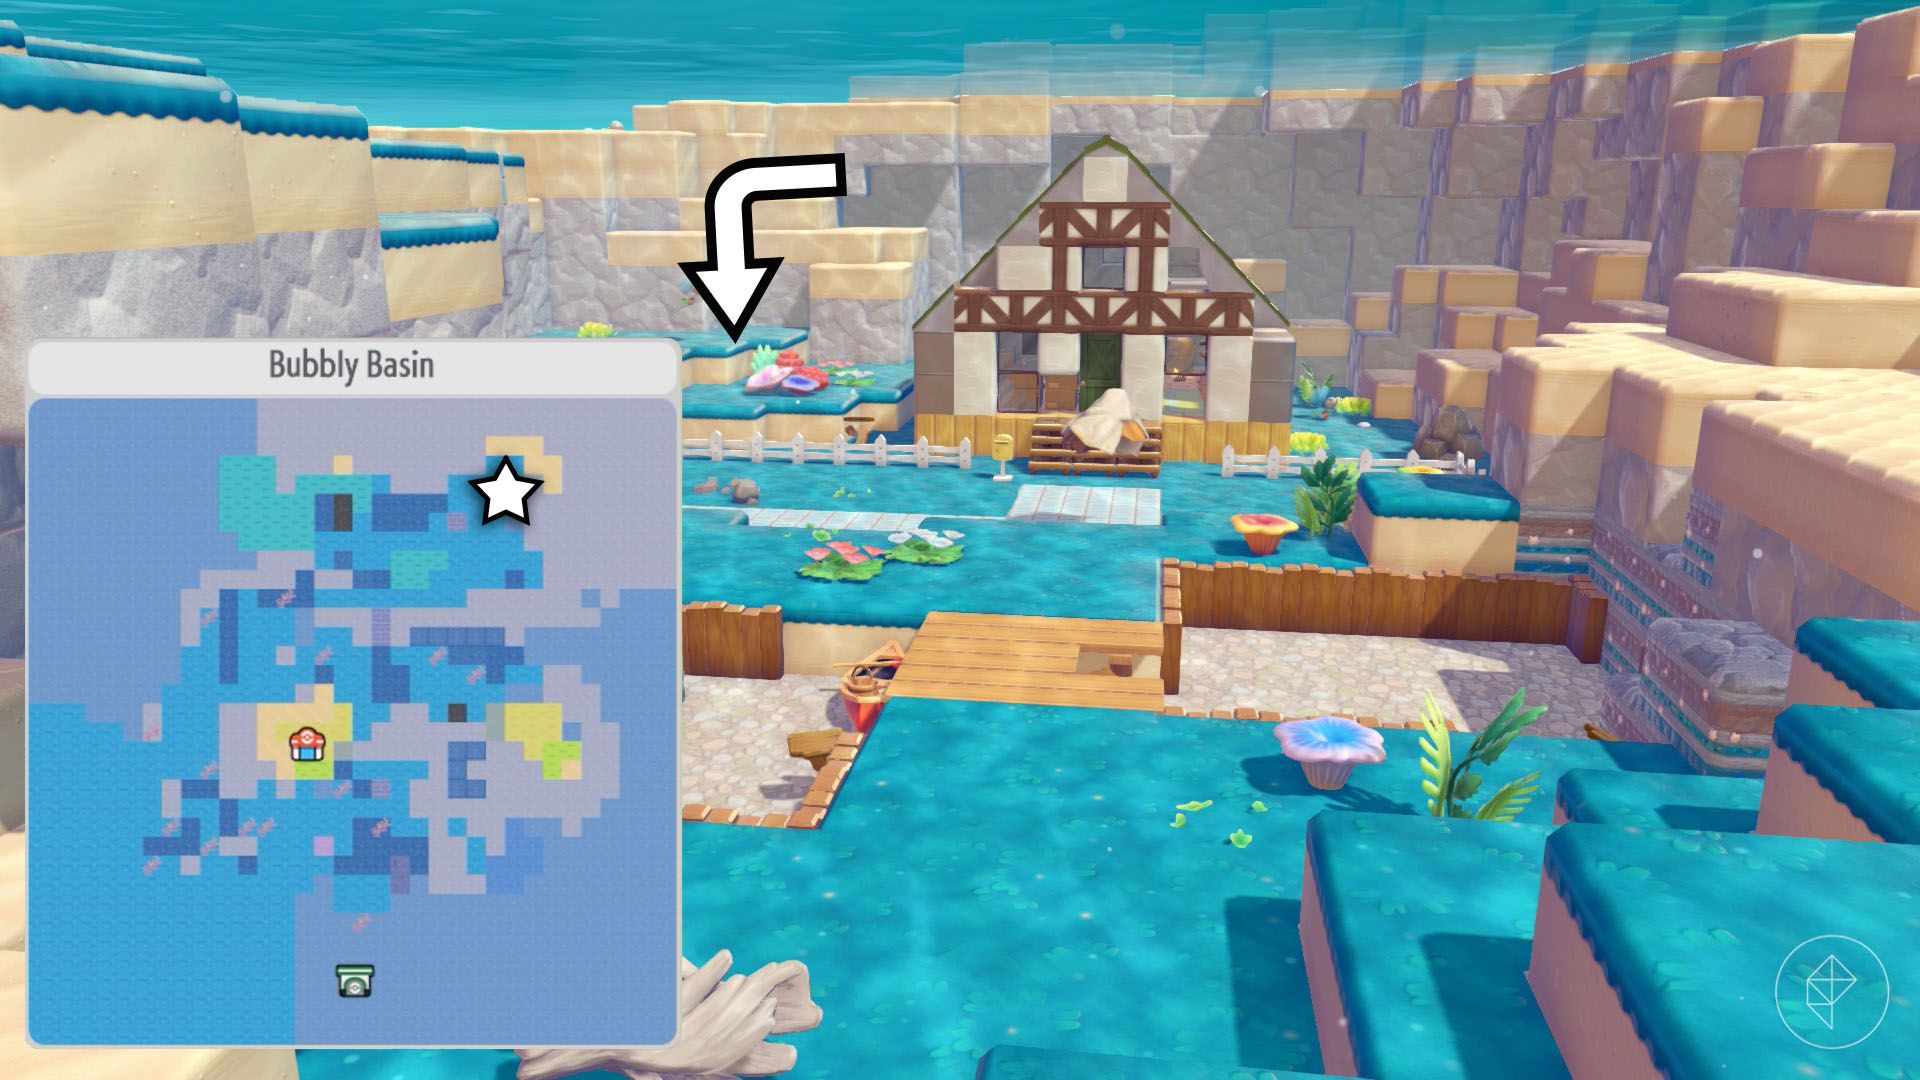
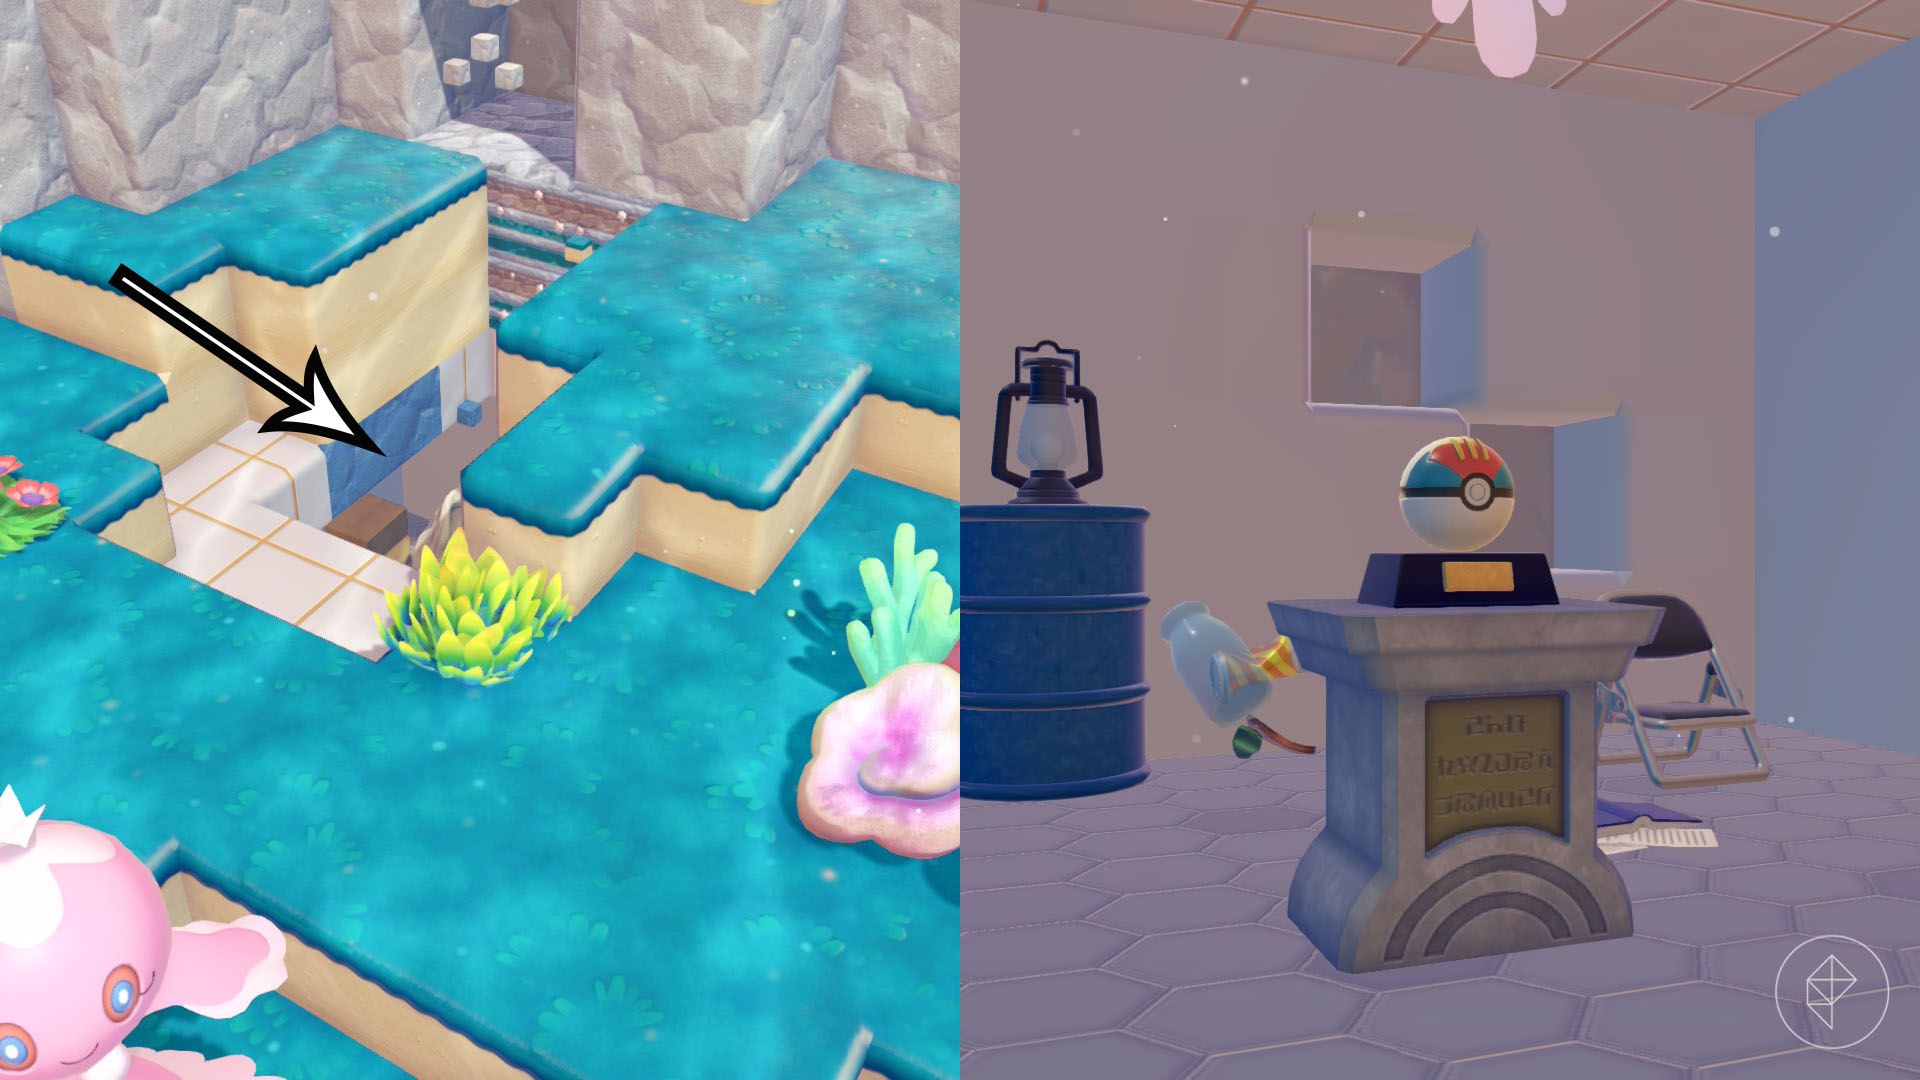


Look for the house with a yellow mailbox on the northeast side of Bubbly Basin, near the portal pods. Dig on the western side of the house, close to the coral, to uncover the chamber containing the decorative Lure Ball.
Treasure Map 6: Decorative Quick Ball
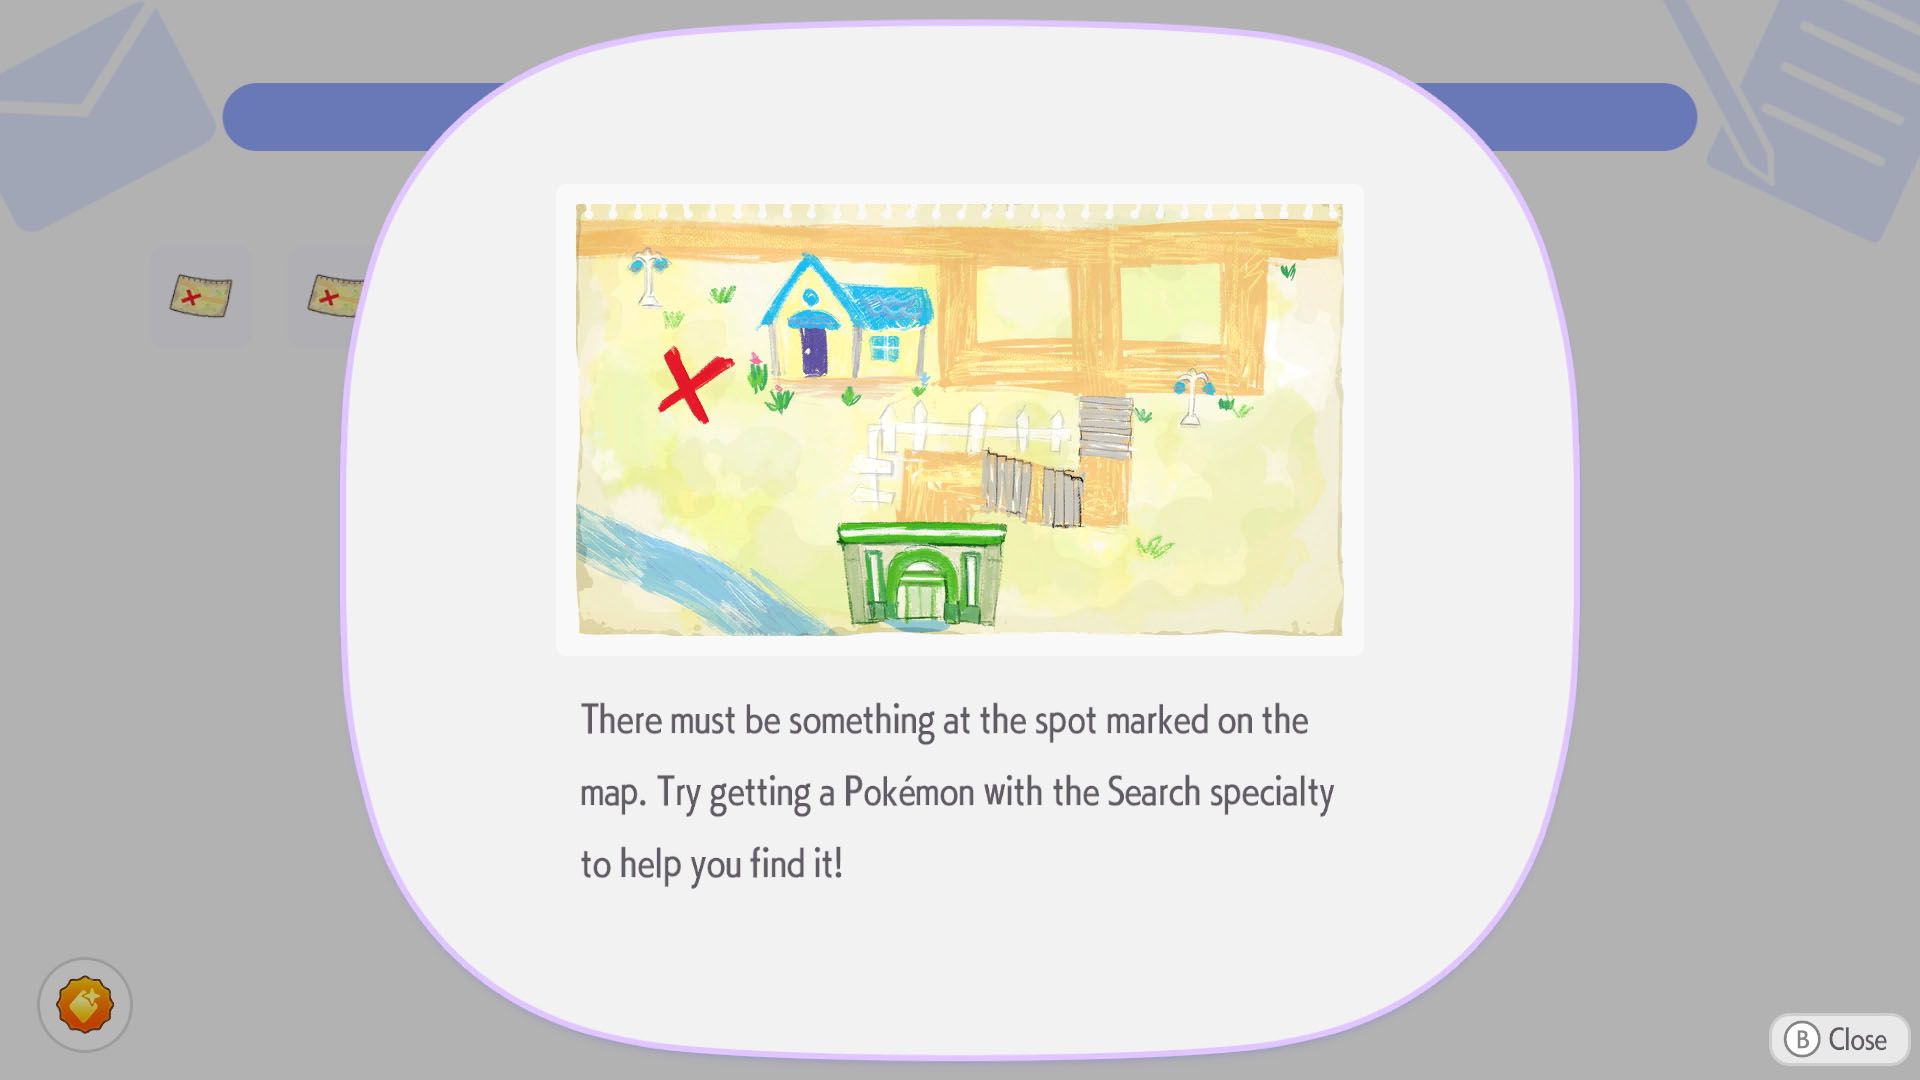
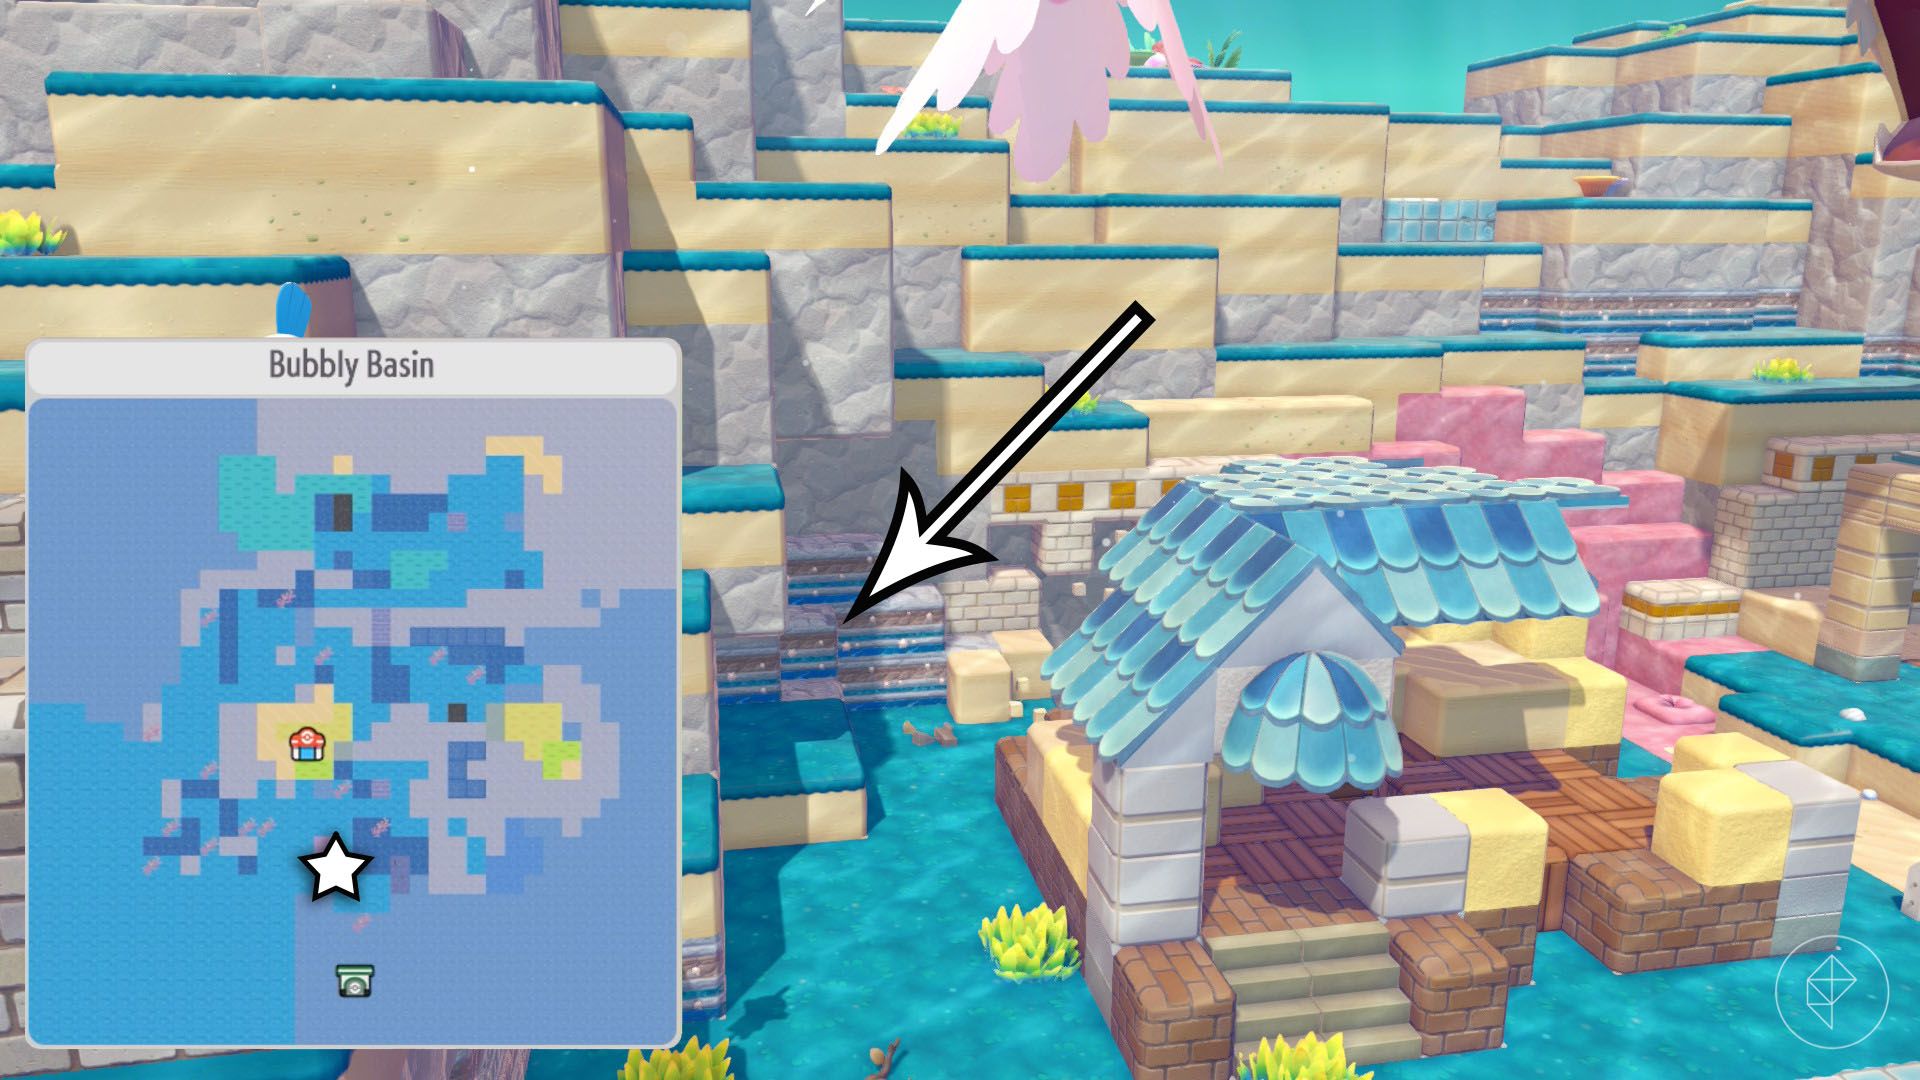
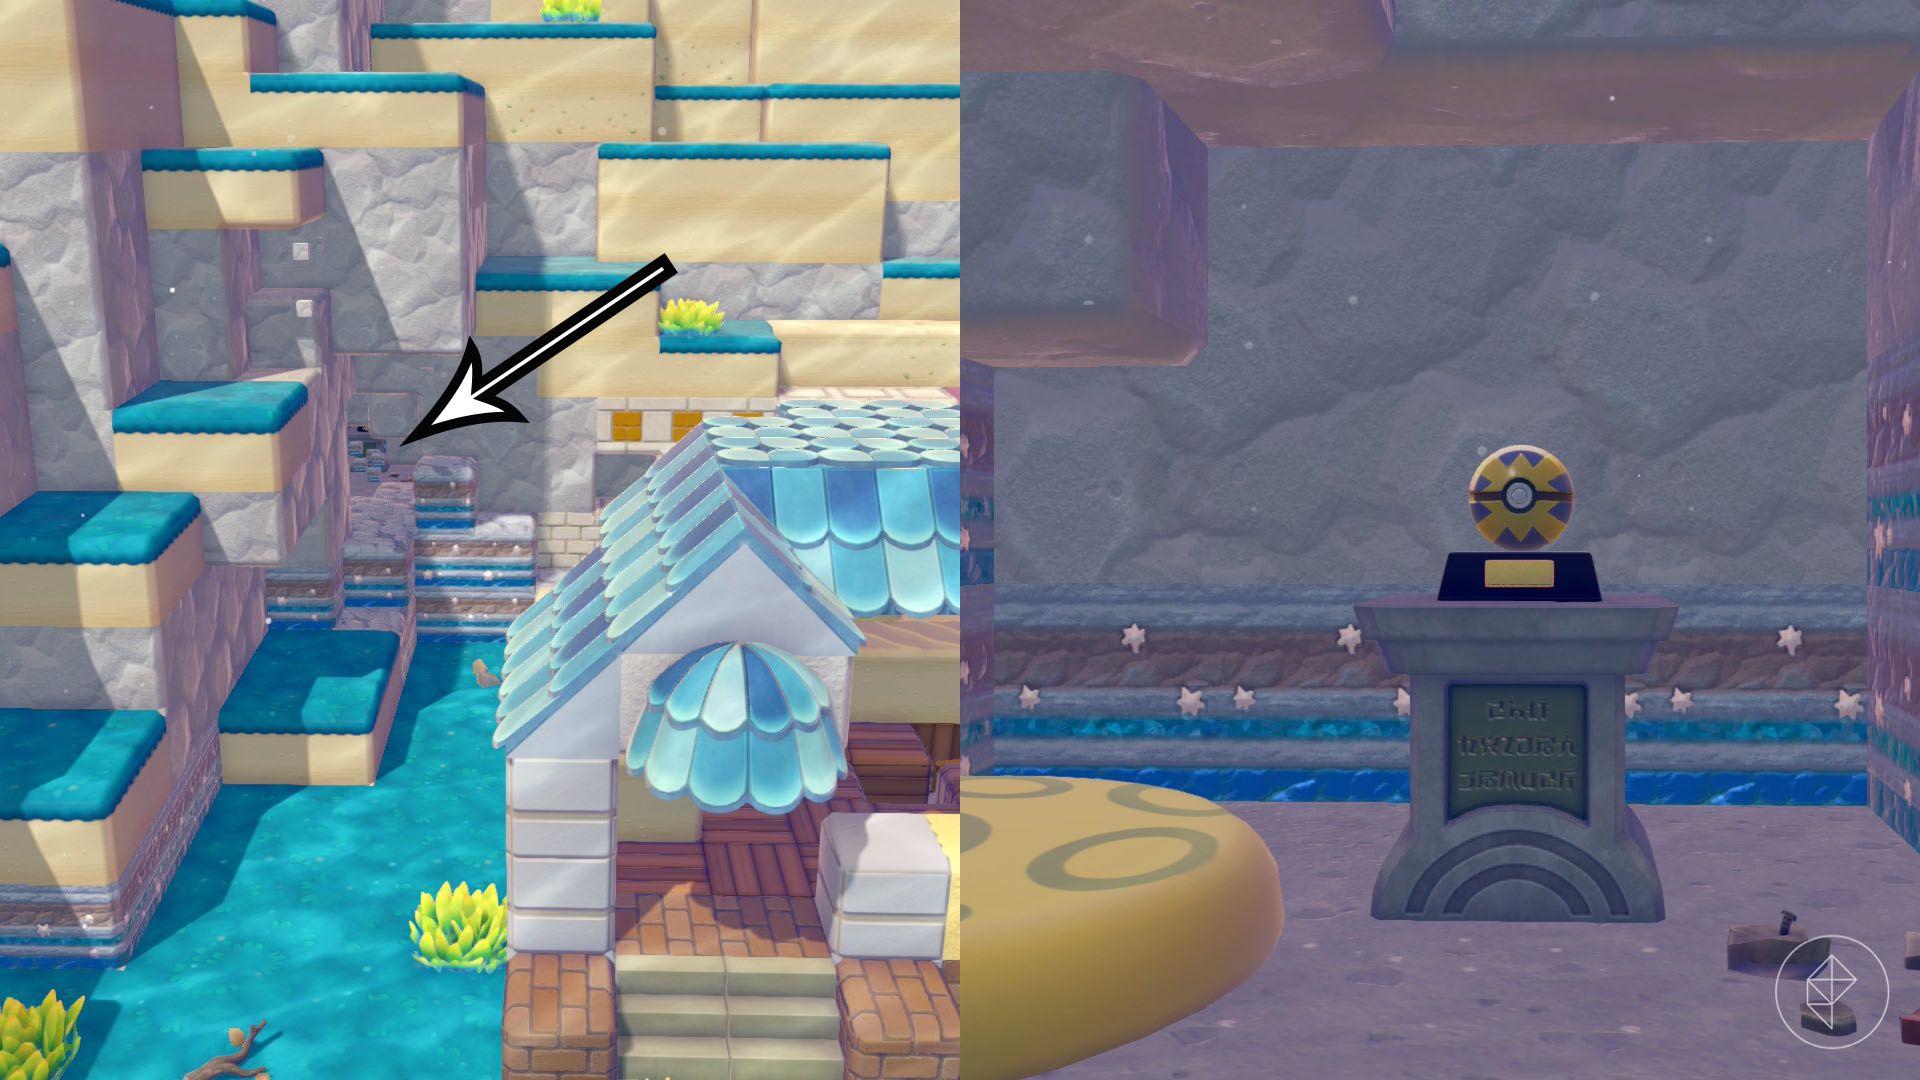


For the final treasure, head to the southern edge of the map near the Bubbly Basin gate. From the gate, travel north, go down the stairs and turn west. Behind the remains of a house is a wall of star-spotted rocks. Break it to enter the room and collect the decorative Quick Ball.
How to build the mermaid’s gym habitat
The six decorative Poké Balls are the key items for creating the mermaid’s gym habitat, where Starmie can appear in your town. You will need:
- One marine sofa
- Six pedestal or exhibition stands
- One decorative Great Ball
- One decorative Dive Ball
- One decorative Lure Ball
- One decorative Heal Ball
- One decorative Net Ball
- One decorative Quick Ball

A quick way to obtain the six stands is to visit the abandoned gym east of the main square, the same location linked to Treasure Map 3. Place the six decorative Poké Balls on the stands in any order, then add a marine sofa. You may already have the recipe for the sofa.
For more ideas about building and customising a gaming space, browse RETROCADE’s arcade machine buying guide, explore compact bartop arcades or see the latest arcade videos.


Leave a Reply